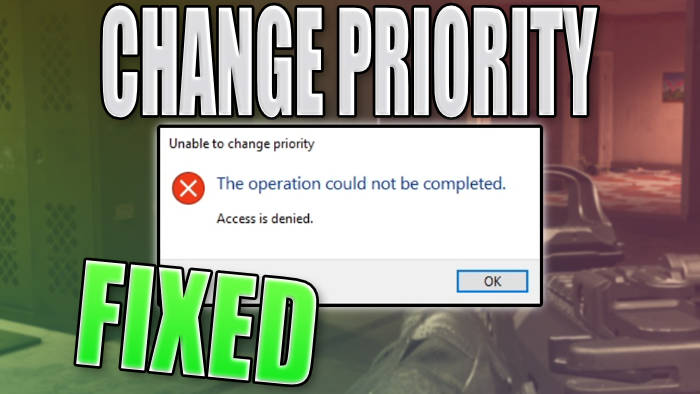
In this guide, we will be taking a look at how you can fix being unable to change priority in Task Manager. You will get this error message when trying to change the priority of a process to high, such as games like Warzone and Fortnite. Luckily, there is an easy way of resolving this.
I will be showing you two different ways in this guide that will resolve and fix the issue if you can’t change the set priority using Task Manager in Windows 10 or Windows 11.
The error message will say “Unable to change priority. The operation could not be completed. Access is denied” and will stop you from changing a game or program’s set priority.
The first method is using a program called Easy Gamer Utility but you will need to purchase the PRO version, and the second is by making changes in the registry which is free.
Table Of Contents
How To Fix Unable To Change Priority In Task Manager On Windows
Below are the two different methods to make your games always run in high priority on Windows 10 and Windows 11.
Method 1: Fix unable to change priority using EGU
Download Easy Gamer Utility here and purchase the Pro version here
Once downloaded open the program and click the Launch tab
Next under the Force Game High Priority option click the Browse button and select the games.exe
Now click on the Force Priority button and your game will now always run in high priority
You can always remove the priority by clicking Remove Priority and selecting the game
Method 2: Fix unable to change priority using Registry
Open your Windows start menu and search for Regedit and open the Registry Editor
Now copy and paste the below path into the address bar in the registry editor
Computer\HKEY_LOCAL_MACHINE\SOFTWARE\Microsoft\Windows NT\CurrentVersion\Image File Execution Options\Right-click on Image File Execution Options select New then Key and name the key the games.exe for example “cod.exe”
Next, right-click on the key your created for my example cod.exe, and select again New then Key and name it PerfOptions
Now right-click in an empty space and right-click select New DWORD (32-bit) Value now name this key CpuPriorityClass
Double-click on CpuPriorityClass and change the value to 3
That’s it your done your game will now always run in high priority, to remove this just simply remove everything you created above.
Final thoughts
So as you can see it’s easy enough to force a game to always run in high priority, of course using EGU is easier but it comes at a cost so if you do not want to purchase the PRO version then you will need to change your games process priority for task manager using the registry.
I hope you enjoyed the above guide and it helped you, feel free to check out our other Windows guides.


