
In this guide, I will be showing you how to flush DNS on a Windows 10 or Windows 11 PC or laptop. Sometimes you need to clear the DNS cache to help resolve connection issues, such as a website not loading correctly or even a game having problems.
Luckily we can use a flush DNS command to achieve this, hopefully fixing any issues that you are facing.
Why clear the DNS cache?
Have you been having connection problems with Windows 10 or Windows 11? Anything from websites not loading or opening properly, not being able to play online multiplayer games, or even Windows updates and other services not working.
There is a good chance that running the flush DNS command could resolve these issues, as the DNS cache can cause many issues if it’s storing incorrect data.
If clearing the DNS cache does not help then your router might also have a DNS cache. Or it could be your internet provider that’s storing the cache, and you will need to wait until they clear this. But this can sometimes be a few days depending on your provider. So using a VPN service could help resolve this.
How to clear DNS cache
Below are the different ways to do a Windows flush DNS. You will need to be signed in as an administrator to be able to do the methods below, as you need to use a flush DNS command to clear the DNS cache.
Method 1: Flush DNS in CMD
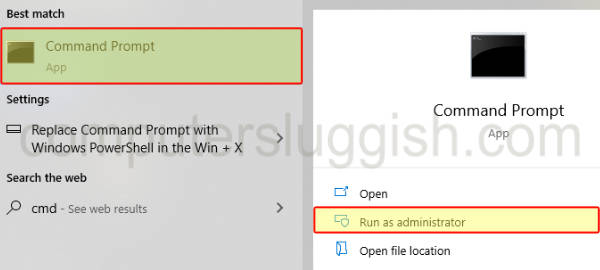
1. First, you need to launch Command Prompt so open the start menu and search “CMD“
2. Now open Command Prompt but click Run as administrator
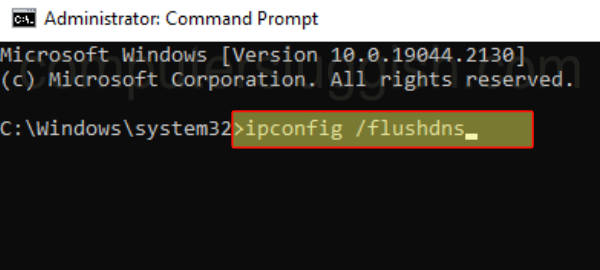
3. You now need to type the following command below for flushing DNS and press Enter:
- ipconfig /flushdns
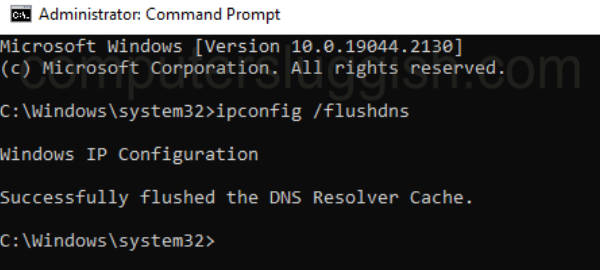
4. Now you should have a message saying “Successfully flushed the DNS Resolver Cache”
Method 2: Flush DNS in PowerShell
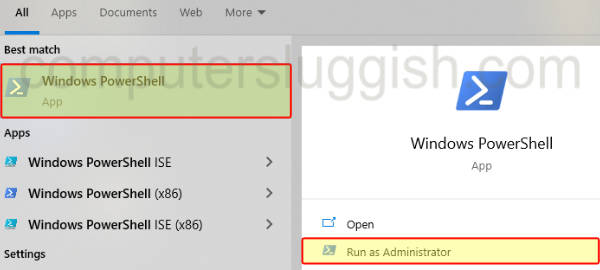
1. First, you need to open PowerShell by opening the start menu and searching “Windows PowerShell“
2. Now open PowerShell but click Run as administrator
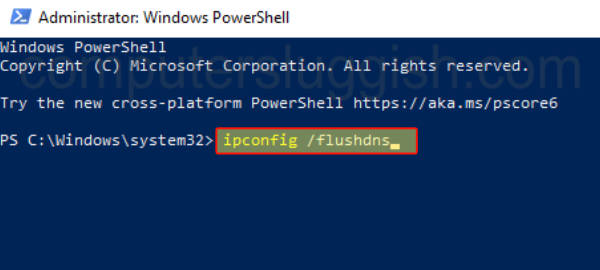
3. Next, you need to type the following command below for flushing DNS and press Enter:
- ipconfig /flushdns
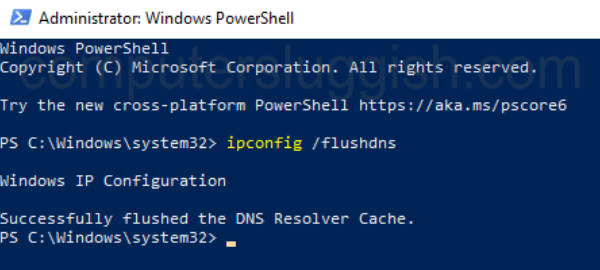
4. You should now have a message saying “Successfully flushed the DNS Resolver Cache”
That’s how to flush DNS on Windows with a simple command and I hope it helped resolve the network problem that you have been having.
If you liked this guide then you might enjoy reading our other Windows guides.