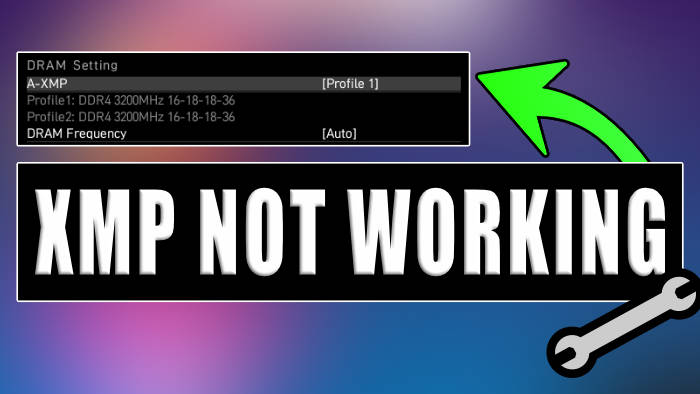
XMP, or Extreme Memory Profile, is an easy and automatic overclocking method for memory. You can use the XMP option for DDR3 and DDR4 RAM modules. But if you have enabled XMP and not noticed any difference in your memory speed, for example, it still says 2133 MHz and not 3200 MHz then there are a few things you can do to fix this.
So in this guide, I will be showing you how you can fix XMP not working, or improve the performance of your RAM. You will need to try each troubleshooting method below until one resolves the issue on your computer.
Table Of Contents
What is XMP?
XMP will automatically overclock your RAM, you can do this within your computer’s BIOS. Once you have enabled XMP it will adjust the settings of the RAM, such as frequency, voltage, and timings, to optimize performance beyond the standard specifications.
So by enabling XMP in your computer’s BIOS, you can take advantage of higher memory speeds and improved system performance without the need for manual configuration.
How to fix XMP not working
It can be annoying when you have just spent a load of money building a new system and XMP is not working, that’s why I have listed the below methods to help you troubleshoot and fix the issue.
Fix 1: Update BIOS
Ensure you have the latest update installed for your BIOS, to do this you will need to visit the manufacturer’s website for your motherboard. Then download either a utility to do this or the update files and follow the instructions.
Unfortunately, I can not write up how to update the BIOS for every motherboard as it’s a different process for each one, but a quick GOOGLE will help I’m sure.
Fix 2: Memory comptaible
The memory that you have fitted to your motherboard is it actually compatible with your motherboard? If it is not then that would explain why you are not seeing the increase in memory speed within Windows.
To check if your memory is compatible visit the manufacturer’s website for your memory and motherboard, then check the specs and ensure it says it can handle the higher frequency.
Fix 3: Use a third-party tool
Try using CPUZ or another third-party program to check your memory frequency. It could be that the Windows task manager has not detected the change for some reason, however your system is actually using the higher faster speeds.
Fix 4: Memory slots
If you are not using all the memory slots on your motherboard then it could be that you have the memory in the wrong slot. So go ahead and swap your memory around or check the manual for your motherboard to see how the memory should be fitted.
Fix 5: Faulty motherboard/memory
Finally, if you are still having issues then it could either be that your memory is faulty or your motherboard, so you will need to run some diagnostics and figure out if this is the case.
It could even be that you have Unfortunately brought some fake memory online.
Final Thoughts
So as you can see there are a few ways you can troubleshoot and fix XMP not working and it not increasing the frequency of your system memory in Windows. I hope the above guide has helped you get XMP enabled and working, and your system is now running a lot faster and smoother.


