
This Windows 10 tutorial will show you how to re-register your ActiveX controls on your PC or laptop.
Sometimes you may have problems trying to launch a program, or play a game and keep getting an ActiveX Control error message popping up. This can sometimes happen In Windows 10 due to one of them becoming deregistered for some unknown reason.
It could just be as simple as running the below command to re-register your .ocx files in Windows 10.
- If your system is just generally missing the .ocx file and that’s why you are getting the .ocx files error message then this won’t fix the problem
- If the .ocx file is corrupted, unfortunately, this won’t resolve the ocx warning window either
To re-register the ocx files in Windows 10:
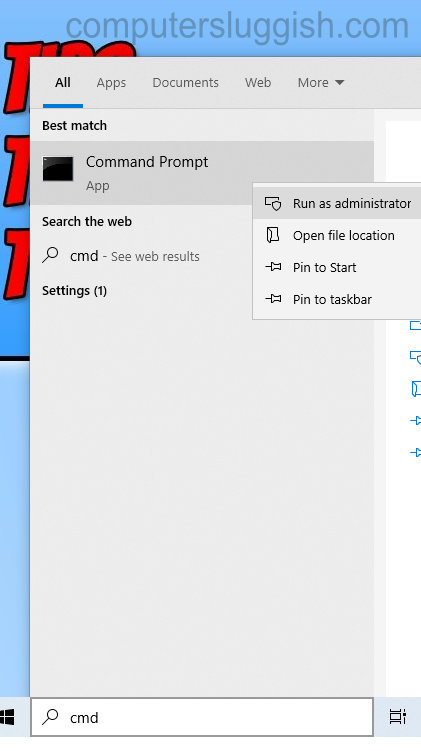
1. Open the Windows 10 start menu (Bottom left hand corner) > Type “cmd” > Click on Command Prompt
2. Copy and paste this code into command prompt: for %i in (%windir%\system32\*.ocx) do regsvr32.exe /s %i

3. Press enter (You will now see that your system is re-registering all the ocx files that are found within your system32 folder)