

This Windows 10 tutorial will show you how to rename a printer on your PC or laptop.
When you connect a printer to your PC, Windows 10 will add and install it and save its name according to the printers make or model.
If you want to change the name of your printer as you have a few connected to your PC, or you just simply want to give it a different name then you can do so by following the easy steps in this tutorial.
How to rename a printer:
1. Type Control Panel into Windows search box (In bottom left-hand corner) > Open Control Panel

2. Change ‘View by’ to small icons (Drop down menu in top right hand corner of Control Panel) > Click on Devices and Printers

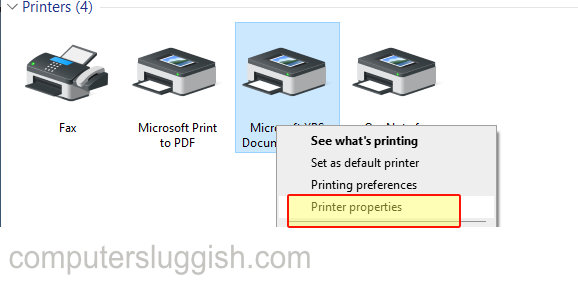
3. Right click on the printer you want to rename > Click on ‘Printer Properties’
4. Click on ‘Change properties’ > Type in a new name for the printer in the top box > Press OK > Printer will change name (If it hasn’t just refresh page)
