

Windows 10 Enable Battery Saver Mode
In this Windows 10 post, we will be showing you how to turn on and enable battery saver on your laptop.
Battery saver is a fantastic feature within Windows 10 that will limit the background activity and also your notifications allowing your battery to last slightly longer when it gets really low. You can also choose when you would like the battery saver to kick in, you can choose between 50% to 10% and it’s totally up to you. Or if you want battery saver to always be active then you can select always.
Windows 10 Turn On Battery Saver Mode:
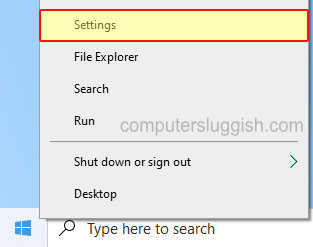
1. Right-click the start menu and select “Settings“
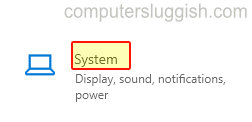
2. Now click onto “System“
3. In the left menu select “Battery“
4. Under Battery saver toggle to On
5. Under “Turn battery saver on automatically at” select the dropdown and choose when you would like battery saver to turn on

There you have it that’s how you can turn on and enable the battery saver mode in Windows 10. Like we said previously the battery saver is a great way to get a little longer on your laptop before the battery goes flat.
If you liked this post then check out our other Windows 10 posts here.