

Remove Steam App From Windows 10 PC Or Laptop
In this post, we will be showing you how to uninstall Steam from your Windows 10 computer.
If you no longer use Steam and don’t want to play any of the games that are on Steam then you can easily remove it. But just keep in mind that if you do still want to play your games that are on Steam then you will not be able to unless you have Steam installed as it’s required to be able to download, install, update and launch the games.
We have listed the steps below on how to remove Steam from your PC or laptop.
****Top Tip****
Uninstalling Steam might remove your games so you will need to download them again if you reinstall Steam!
Removing Steam From Windows 10 Computer:
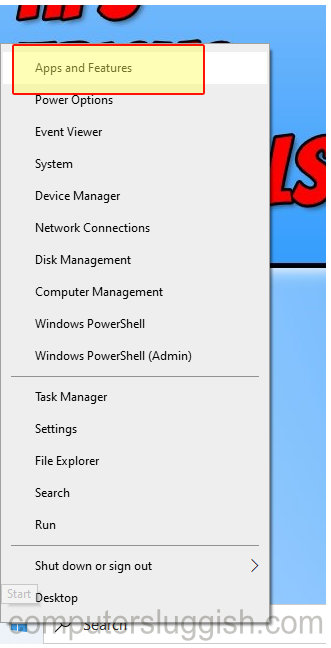
1. Right-click the Windows start menu icon
2. Open up “Apps and Features“
3. In the search box that says “Search this list” type “Steam“
4. Now select Steam and click the “Uninstall” button
5. Click Uninstall and follow the on screen instructions

There you have it you have now successfully removed Steam from your Windows 10 computer. This might not have removed the games that you have installed through Steam and you will need to remove them one by one if you want them gone.
If you would like to install Steam again check out this post here and if you keep the games on your hard drive you will need to relocate them to Steam again.