Fix Missing & Corrupted Files In Warzone
Call Of Duty Warzone is an awesome free to play game on PC and consoles. In this post we will be covering the PC version of the game.
If you are experiencing issues with the game then this could be as simple as a file that has become corrupted when doing an update, or it has become corrupted overtime for some unknown reason which can cause a lot of problems within the game.
Another issue could be that your game install might be missing a file that was missed when installing the game or doing an update.
The fastest way to fix these problems is by running a scan and repair in Call Of Duty Warzone. This will detect any problems such as file corruption or file missing issues, then attempt to resolve the problem.
If the Scan and repair function for Cold War does not resolve your issues then unfortunately you will most likely have to reinstall the game.
How To Scan And Repair Call Of Duty Warzone:
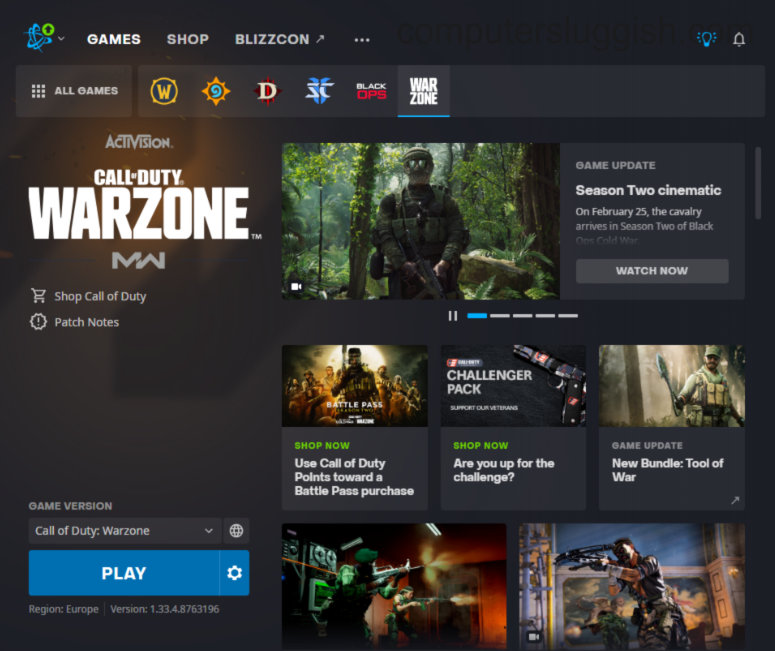
1. Open the Battle.net app within Windows 10.
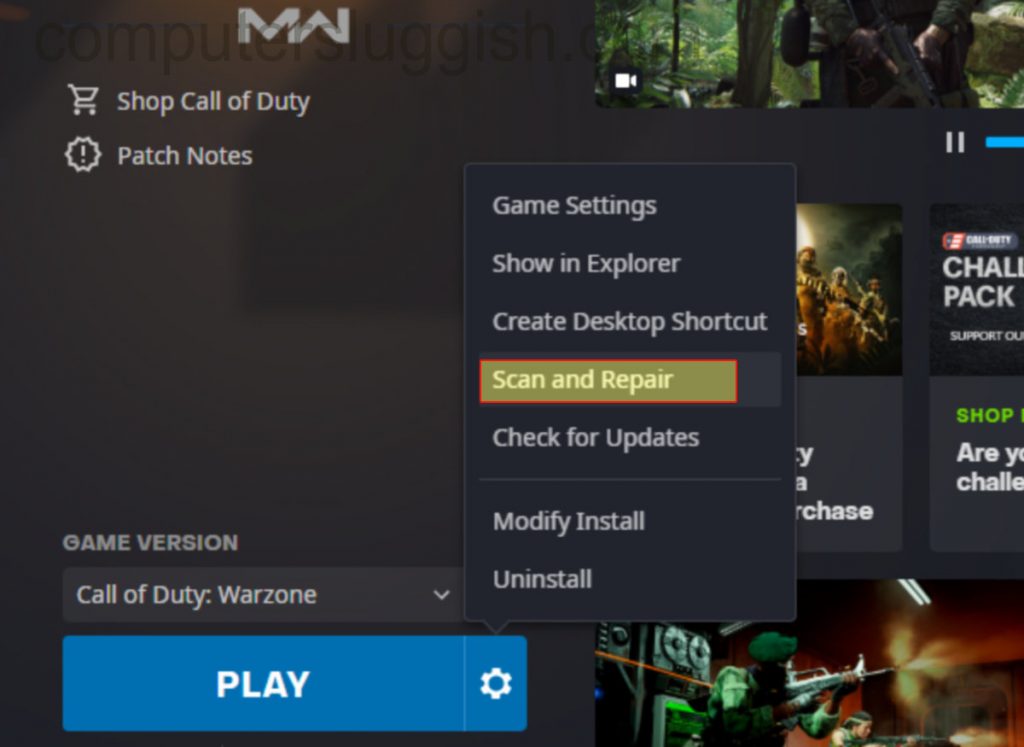
2. You now need to click onto WARZONE then click the settings COG then “Scan and Repair”
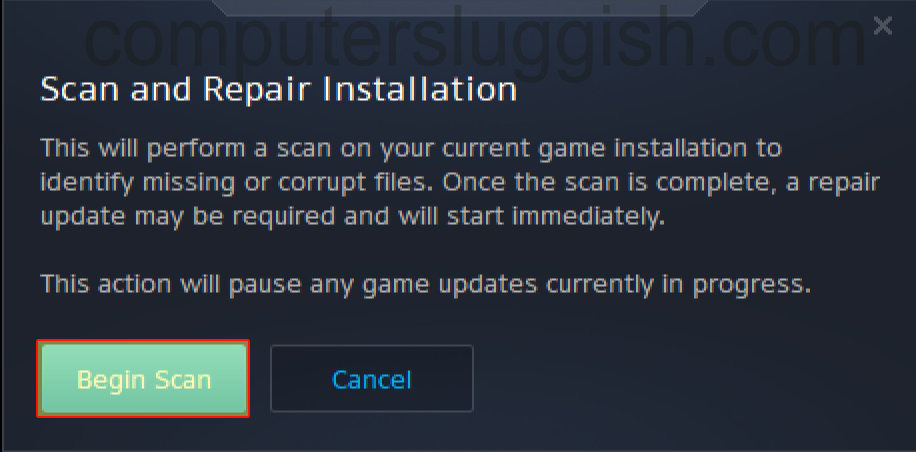
3. You will now be presented with a Window asking to “Begin Scan” so you need to click this button > Battle.net will scan the Warzone install and attempt to repair any files that are corrupted or missing.