

In this guide, I will show you how to make a Ubuntu bootable USB in Windows using a program called Rufus. Once you have created the Ubuntu bootable USB, you will then be able to use it to either install Ubuntu, or you can try out live Ubuntu.
If you try out Ubuntu running it from the USB, you will not need to install the OS also known as the operating system to your computer’s hard drive. This is a great way to test out Ubuntu and can also come in handy if you need to make changes to another operating system like Windows, due to something going wrong.
To make the Ubuntu bootable USB we will be using a program called Rufus. This is a free program that allows us to create bootable USB flash drives by selecting an iso image of your choice like Windows, Linux, etc, that we would like to use to create the bootable USB.
Rufus has been around for a long time and I have used it many times when putting Ubuntu iso onto a USB and making it bootable. So if you are wondering if Rufus is safe, then the answer is yes.
How to make Ubuntu bootable USB
Below I have listed the steps for putting a Ubuntu iso image onto a USB flash drive and making it bootable using Rufus in Windows 10/11.
1. First, you need to download the Ubuntu iso image here from the Ubuntu website here
2. Once you have downloaded the iso image you need to also download Rufus which can be found here
3. Now insert a USB drive and save and remove all the data on the drive (as it will get formatted when we create the Ubuntu bootable drive).
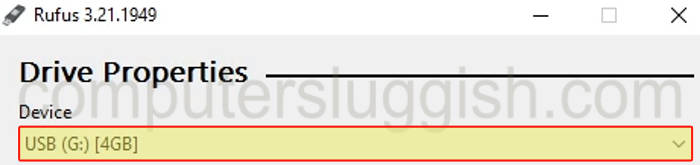
4. Now open Rufus and select your USB device from the dropdown under Device
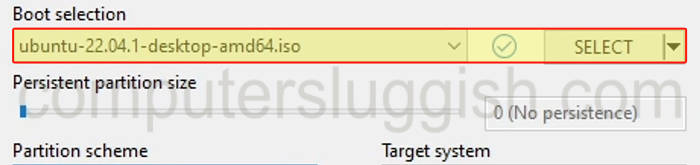
5. Make sure the Boot selection has Disk or ISO image selected > Then click the Select button and open the Ubuntu iso image
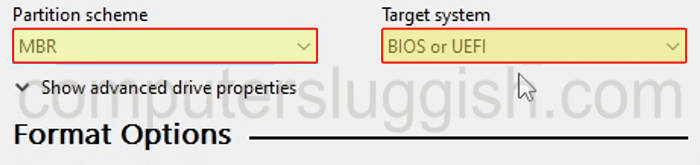
6. Ensure the partition scheme has MBR selected and the Target system is set to BIOS or UEFI
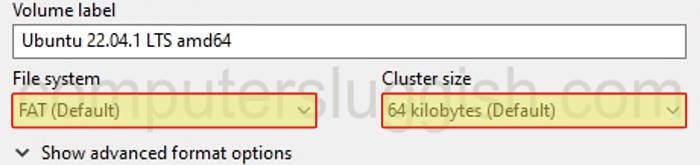
7. You can now change the Volume label or leave it as the default

8. Now make sure the File system is set to FAT and the Cluster size is set to Default
9. Click on the Start button once you are happy with the options you have selected
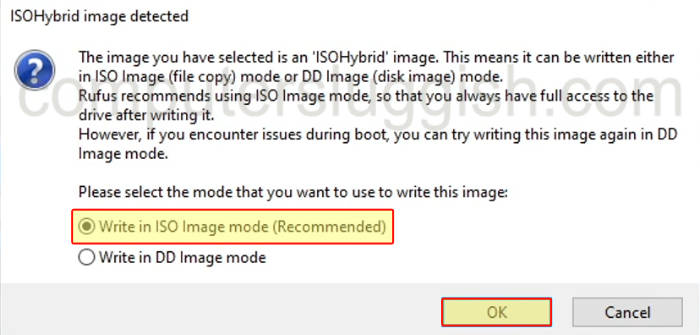
10. If you have a window that says ISOHybrid image detected then select Write in ISO Image mode and then click the OK button
11. Click the OK button to delete all data on your USB and begin to create the bootable drive

I hope the above guide has helped you create a bootable Ubuntu USB for your Windows computer, and if it did not help then you might need to change the partition scheme.