

In this Windows 10 guide, we will be taking a look at how to change your computer name in Windows 10. By default, Windows will choose a random name for your PC and this can make it a little confusing when it comes to browsing for your computer on the network.
The computer name you choose will be the name that is displayed on your local network and domain network, so choose wisely.
Why change PC name?
Changing your computer name in Windows 10 is fairly straightforward and doing it will make life a lot easier if you have a fair amount of other computers connected to the network you use. This will make it easier for you to identify.
But just remember to use a name that you will recognize, so it will be easier to find on your network.
How to rename your PC Windows 10
Below are the steps for changing your Windows computer name.
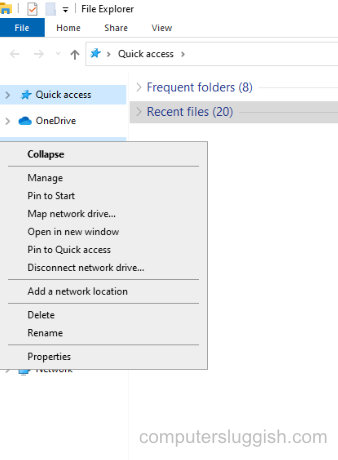
1. Open File Explorer > Right-click on This PC > Then select Properties
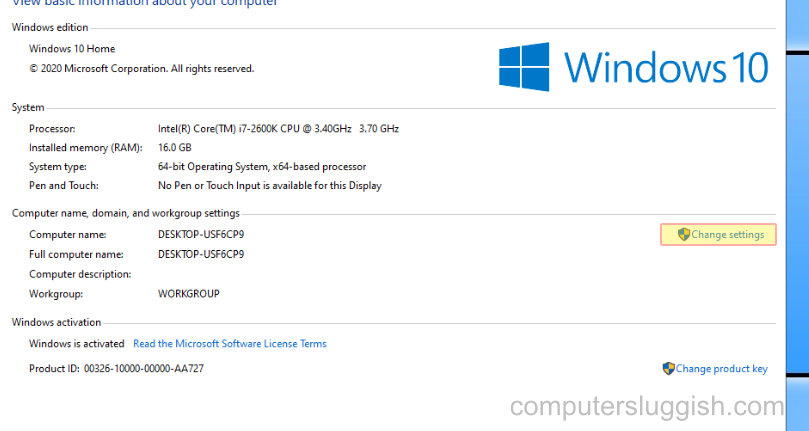
2. Under “Computer name, domain and workgroup settings” click on Change Settings
3. Select the Computer Name tab > Then click on Change
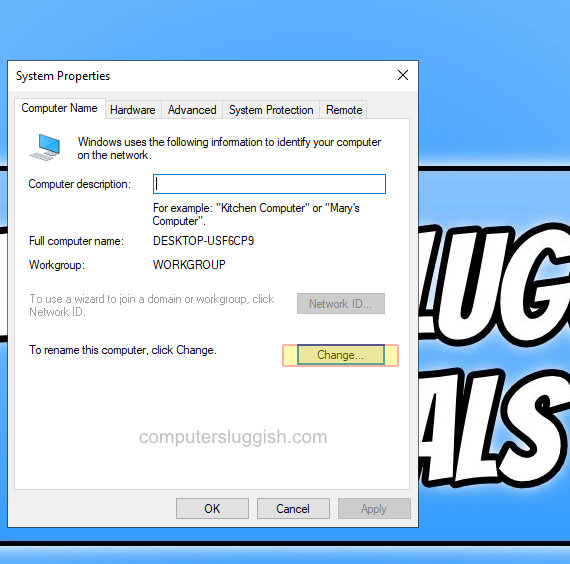
4. Type in your new computer name > Press OK

How to change computer name in Windows 10 using CMD
Press the Windows key, type “cmd” and press Enter
To change the computer name, type the below code and press Enter
WMIC computersystem where name="%computername%" call rename name="<new-computer-name>"Replace new-computer-name with the name of your computer then restart Windows
How to change computer name in Windows 10 using PowerShell
Press the Windows key, type “PowerShell” and press Enter
Type the following command and press Enter
Rename-Computer -NewName "<new-computer-name>" -RestartReplace new-computer-name with the desired name for your computer
Now Press Y and Enter then restart Windows
That’s the end of our guide on how to change computer name in Windows 10. Hopefully, it will now be easier to find your PC on your network.
If this guide helped you out, we have more Windows 10 guides here.