

Change Your Windows 10 User Account Image
In this post, we will be showing you how to change the picture or image that Windows 10 uses for your profile picture.
This will mean that when you sign in to Windows 10 you will have your very own custom image, not the boring grey icon with an outline of a person. Your custom profile image will be displayed in other areas of Windows 10 like Your account info, start menu, etc. We have listed the steps below for changing your profile image.
Changing Your Windows 10 Profile Image:
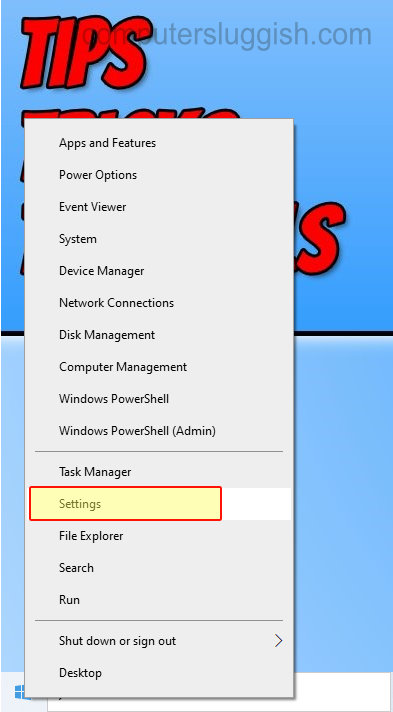
1. Right-click start menu > Settings
2. Now click on “Accounts“

3. Click “Your info” from the left menu
4. Under “Create your picture” now click either “Camera” if you want to take a picture using your camera or Browse for one if you want to select an image/picture on your computer

There you have it you have now successfully changed the image and picture of your Windows 10 profile picture you can check out more of our awesome Windows 10 posts here.