

How To Put Files Into The C: Drive Root
In this post, we will be showing you the easiest way to save a file into the C: drive on your PC or laptop.
As you might have already noticed if you try and save a file into the C: using a program you will get an error saying “C:\ You don`t have permission to save in this location. Contact the administrator to obtain permission. Would you like to save in the Documents folder instead?”
This is because the main root of the C: drive is protected and it’s not best practice to save anything on your main C: drive. However, if you would still like to have a file on the C: drive root then instead of saving the file into the location the easiest thing to do is just move the file, so save the file in your documents or desktop then move it to the C:\ location.
You will need to be signed in as an administrator to be able to move a file into the C:\ directory.
How To Move Files Onto The C:\ Drive Root Location:
1. Find the file you want to move to C:\
2. Right-click the file > Copy or Cut the file
3. Now go to the C: drive then paste
4. You will get a window pop up saying “You`ll need to provide administrator permission to copy to this folder” click “Continue“

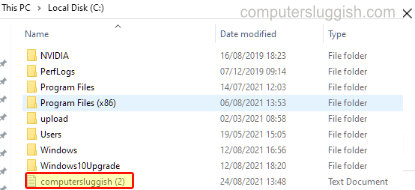
5. The file will now be saved in the C:\ location
This is the fastest and easiest way of saving files into the main C:\ directory path in Windows 10.
Check out more of our Windows 10 posts here.