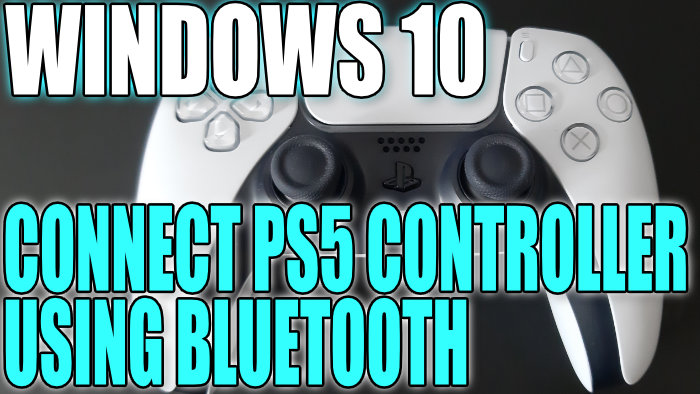
Connect PS5 Wireless Controller To Windows 10 Using Bluetooth
In this guide, we will be taking a look at how you can connect your wireless PlayStation 5 controller to your Windows 10 or Windows 11 PC using Bluetooth. This means it will be wireless and no cable is needed.
Before doing the below steps ensure your PS5 controller has a full battery. Also, make sure you have a cable so you can pair your PS5 controller back to your PlayStation 5 again once you are finished using it on your Windows computer.
If your system does not have Bluetooth check out this post on how to connect a PS5 controller using a cable.
Related: Reset PS5 controller
Connect PS5 Controller To Windows Wireless
1. Right-click start menu > Open “Settings“
2. Now go to “Devices” > Ensure Bluetooth is “On“

3. Click “Add Bluetooth or other device“

4. Under Add a device click “Bluetooth“

5. Hold the PS button (PS logo button) and Create button (button on left of the touchpad) at the same time > The controller should start blinking blue fast (This means your Playstation 5 controller is in pairing mode)
6. Now select Wireless Controller in the list

7. Once your PS5 controller has connected to your Windows 10 computer it will say “Your device is ready to go!

There you have it you can now enjoy playing some of your games with your PS5 controller wirelessly.
Check out more of our PS5 guides here.


