

Change WiFi Frequency Band From 2.4GHZ To 5GHZ On PC Or Laptop
In this Windows 10 post, we will be showing you how you can change the frequency that your wireless adapter uses (also known as the wireless mode).
If your wireless adapter allows you to change the frequency then you will be able to choose between 2.4GHz and 5GHZ.
Depending on how close you are to the wireless connection point will depend on which frequency you will want to set your WiFi adapter to. For example, if your computer is a far distance then 2.4GHz will be better as it offers a better connection for a longer distance. But if you are close to the wireless point then 5GHz will be best as it offers the fastest connection.
We have listed the steps below showing you how you can change your wireless mode if your adapter supports it.
Change WiFi Adapter Frequency Band In Windows 10:
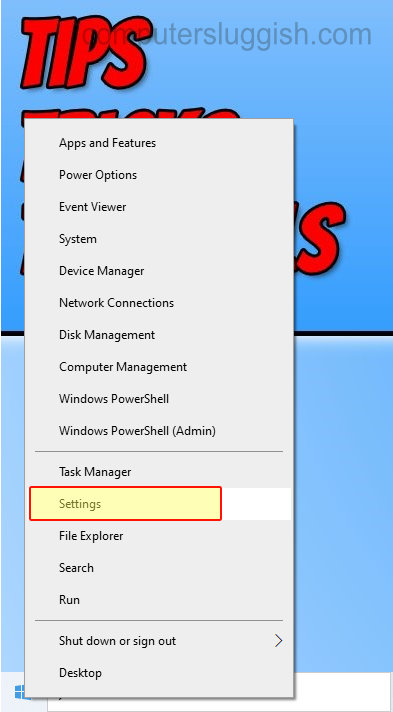
1. Right-click the Start menu icon and click “Settings“
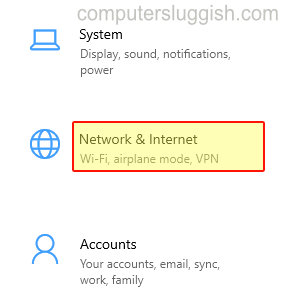
2. Now go on to “Network & Internet“
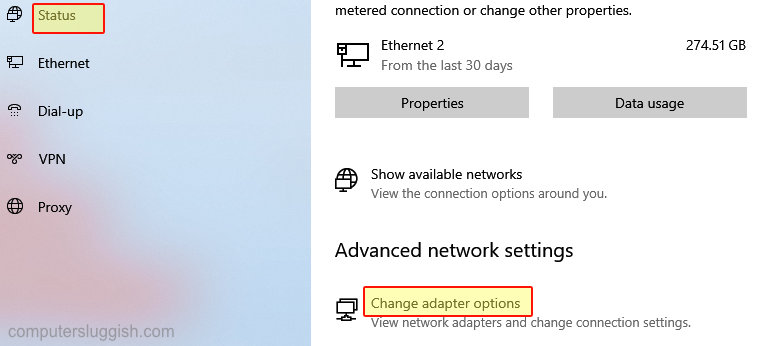
3. Click “Status” in the left menu
4. Click “Change adapter options
5. Right-click your wireless adapter and click “Properties“

6. Now click “Configure…“

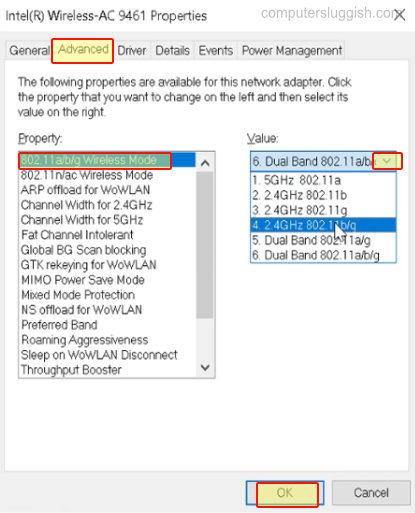
7. Click the “Advanced” tab > Underneath “Property” look for an option that says Wireless Mode > Then you will be able to change the wireless frequency to either 2.4GHz or 5GHz > Click “OK” when finished
There you have it that’s how you can change the frequency of what your wireless adapter uses. Like we said before depending on the location of your computer will depend on which frequency you should choose.
Check out more of our Windows 10 posts here.