

Disabling Windows 10 Ethernet Network Card
In this Windows 10 post, we will be showing you how you can disable your ethernet adapter on your PC or laptop.
If for some reason you no longer want to have a connection using your ethernet adapter and you are unable to get to the back of your computer to just unplug the ethernet cable or don’t want to unplug the cable, then disabling the ethernet adapter within Windows 10 is easy enough to do. Below we have listed the steps.
Disabling An Ethernet Adapter In Windows 10:
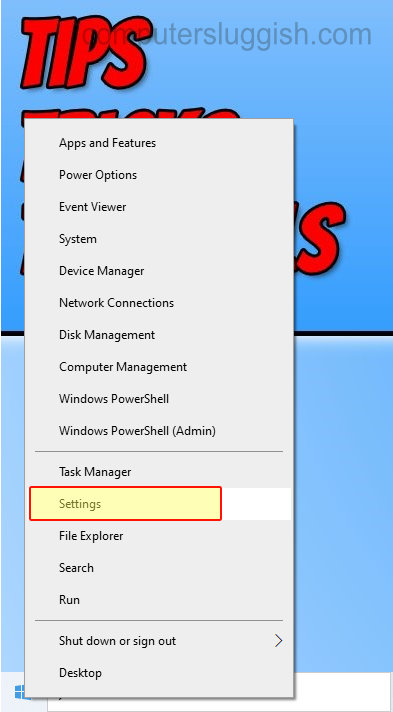
1. Right-click the start menu and click “Settings“
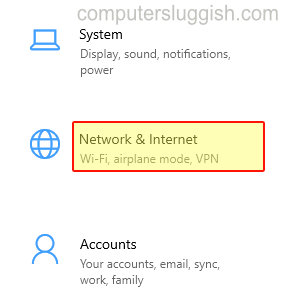
2. Now open “Network & Internet“
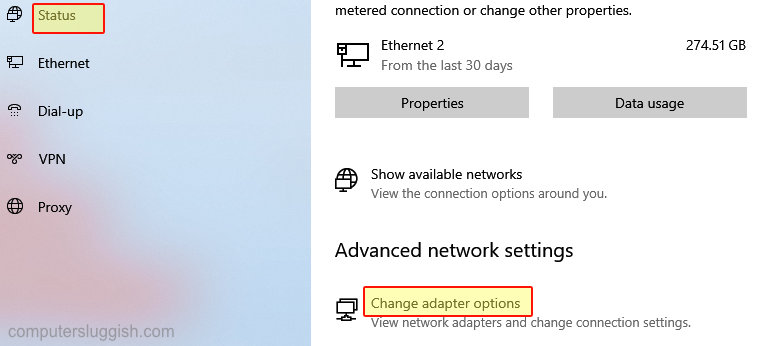
3. In the left menu click “Status” > Now click “Change adapter options“
4. Right-click your ethernet adapter and click “Disable“
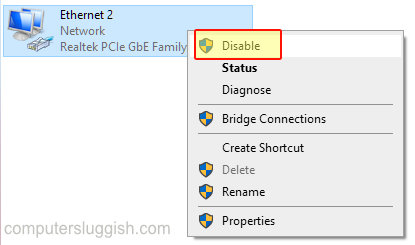
5. Your ethernet adapter will now say Disabled

And there you go that’s how you can disable an ethernet adapter within Windows 10. Like we said it’s not too difficult to do and saves you reaching to the back of your computer to pull out the ethernet cable!
We have more Windows 10 posts here.