Improve Performance & Reduce Latency In Games!
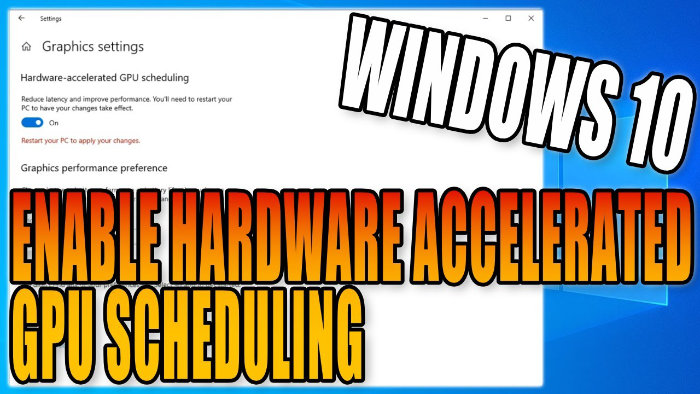
In this guide, we will show you how to enable the new hardware accelerating GPU scheduling option in Windows 10 on your computer.
By enabling this option on your Windows 10 PC you will be able to improve the performance and reduce latency in your games which is fantastic if you are a PC gamer.
Table Of Contents
Hardware accelerated GPU scheduling missing
If you are missing the hardware accelerated GPU scheduling option this is because you will need to have the latest version of Windows 10 installed on your PC or laptop, and you will also need to ensure that you have the latest graphics drivers installed, otherwise you will not have the hardware accelerating option showing on your PC. This option also won’t show if your GPU doesn’t support it.
How to enable hardware accelerated GPU scheduling
Below are the steps for turning on hardware accelerated GPU scheduling on Windows 10.
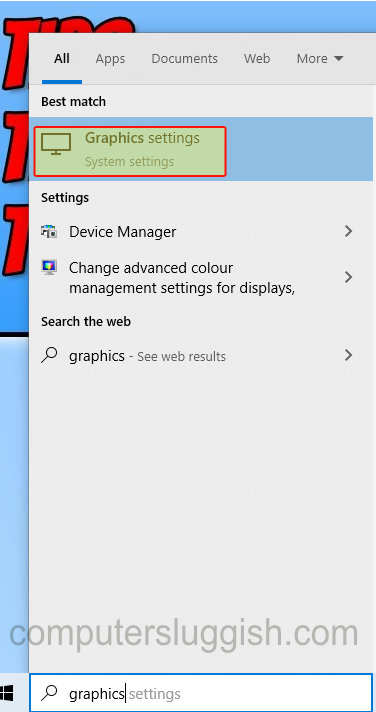
1. Type ‘Graphics’ in the Windows Search box (bottom left-hand corner) > Open Graphics Settings

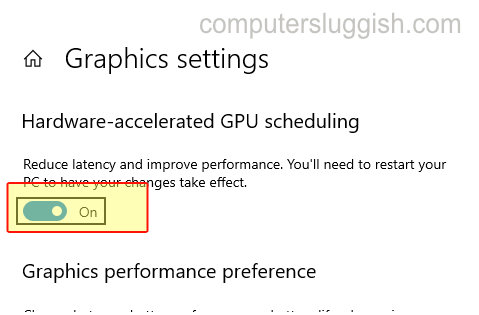
2. If you have the latest Windows update and graphics drivers, and your graphics card supports it then you should see an option at the top for Hardware-accelerated GPU scheduling.
3. Toggle the icon to ‘on’
4. Restart your PC for changes to take effect

We hope the above guide helped you turn on Hardware-accelerated GPU scheduling on your Windows computer if you enjoyed this guide then we are sure you would like our other Windows 10 guides.


