Feel More Secure!
This Windows 10 tutorial will show you how to disable your webcam on your PC or laptop.
Sometimes you just do not want your webcam to be enabled and want it disabled.
If your webcam is plugged in via USB then disabling the webcam is easy as you can just disconnect your webcam by unplugging it, but if you are using a Laptop it’s not always as simple as just unplugging your webcam as it’s built in.
Sometimes on laptops you can move a switch which will put a flap over the webcam making it disabled but if you don’t have that option either don’t worry because you can also disable the webcam by changing some Windows 10 settings.
To disable your webcam in Windows 10:
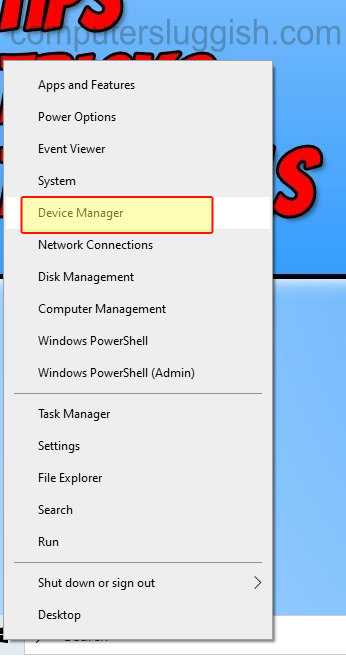
1. Right click Windows 10 start menu icon (bottom left-hand corner) > Device Manger > Select Camera > Right click your webcam > click disable.
Another way to disable your webcam:
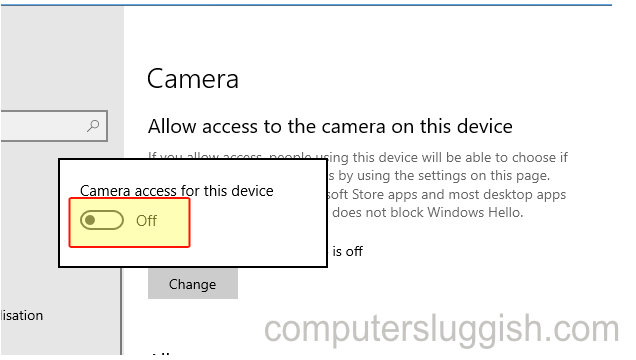
1. Right click Windows 10 start menu icon (bottom left-hand corner) > Settings > Privacy > Select Camera tab (left-hand menu) > Under ‘Allow access to the Camera on this device’ click Change > Click to toggle the slider to no position