Pin World Clock Tile!
This Windows 10 tutorial will show you how to add a clock to your start menu.
If you want to customise your start menu and add a clock you can do so with the Windows 10 in-built app and pin a clock tile to the start menu. You can also add multiple clocks if you want to.
To add clock to start menu:
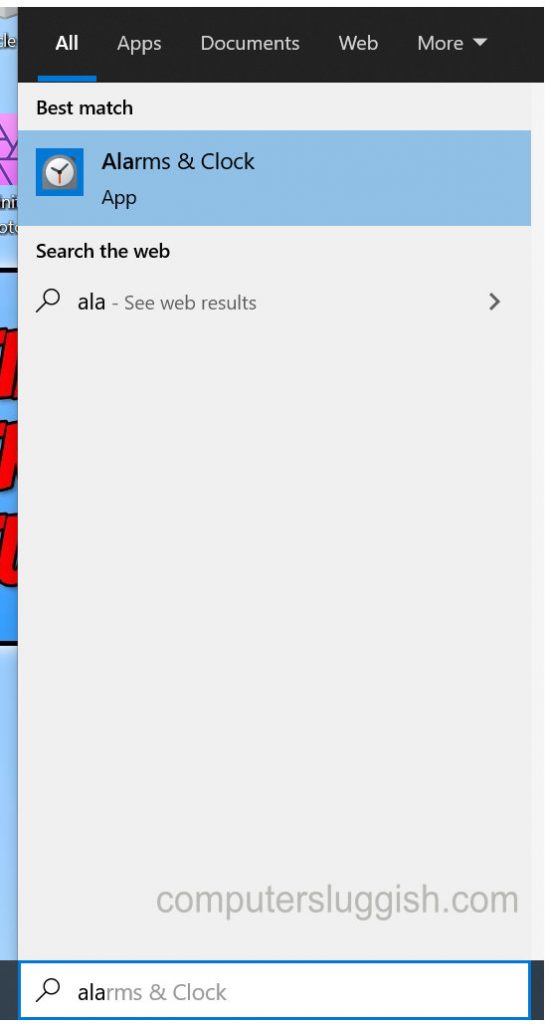
1. Open up Start menu > Find and open ‘Alarms & Clock’

2. Click on ‘Clock’ in the top left (You will now see your local time in a box on the map)
3. Right-click on your local time > Click Pin to start > Press Yes > The clock will now be added to your start menu

****Top Tips****
– If your local time did not appear in the alarms and clock app then simply press the + symbol in the bottom right-hand corner of the app and find your local time.
– To change the size of the clock tile after adding it to your Windows 10 start menu just right click on it to bring up settings


