In this guide, I will show you how to boot Windows 10 into diagnostics mode if you have been having issues with your computer recently then loading Windows 10 into diagnostics mode could help you determine what’s causing the issue as it will only load the basic devices and services.
Windows diagnostic mode is a bit like safe mode but with more options available, as I already said it loads only basic services and devices but it’s a little easier to get into as you can change the option within System Configuration and then restart your computer.
I find diagnostic mode very handy when it comes to fixing errors on a PC or laptop whever it is signing into Windows issues, crashing problems, or the dreaded bluescreen.
Just remember you can revert your PC back to normal startup mode very easily.
If you are still having issues on your Windows 10 PC whilst running in diagnostics mode then I would recommend booting up your PC into safe mode as that mode disables even more options.
What is Windows 10 diagnostics mode?
Windows 10 Diagnostics Mode, is a troubleshooting environment provided by the Windows operating system. It allows users to start their computer with only essential system services and drivers, helping to diagnose and resolve issues that may be causing problems during normal startup of Windows 10.
In Diagnostics Mode, Windows 10 loads a minimal set of drivers and services, preventing third-party software or drivers from running, which can help identify the root cause of the issue that you are having, such as software conflicts, driver problems, or malware infections.
How to Boot Windows 10 into diagnostics mode
1. Type in MS CONFIG in Windows search bar (bottom left corner of the screen)
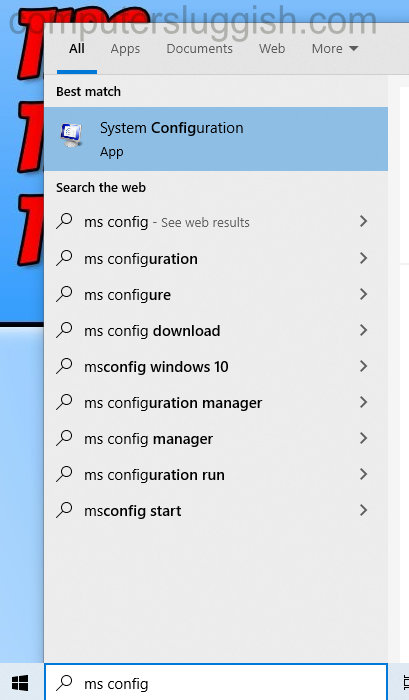
2. Click on System Configuration to open it
3. Under General Tab select ‘Diagnostic Startup’
4. Press Apply > Press OK

5. Window will pop up and say ‘Restart PC’ > Press restart (If no pop-up window then restart PC manually)
How to stop Windows 10 diagnostics mode and boot into normal mode
1. Type in MS CONFIG in Windows search bar (bottom left corner of the screen)
2. Click on System Configuration to open it
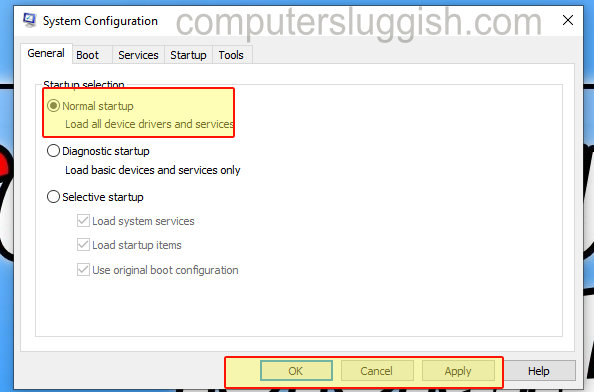
3. Under General Tab select ‘Normal Startup’
4. Press Apply > Press OK
5. Restart your PC.