

Choose A Custom Pointer On Your PC!
Windows 10 has a default pointer which is the classic white arrow that you will see on your screen on your PC. There are also many other default pointers used for things such as selecting text, the busy pointer, working in background icon, and many more, which can also be changed.
If you like to customise your Windows 10 PC and fancy trying out different pointers then this is a really easy thing to do.
To change your mouse pointer in Windows 10:
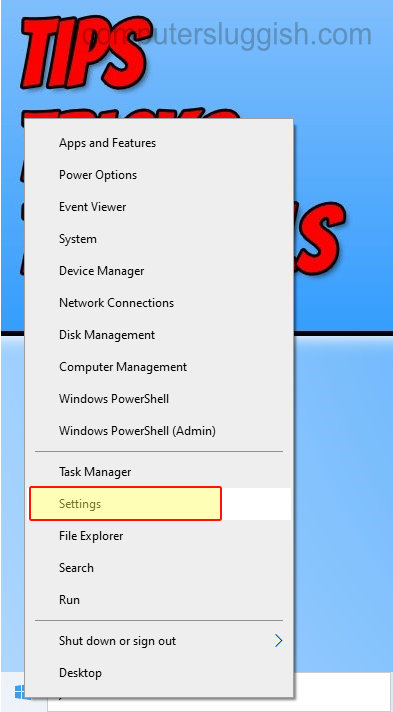
1. Right click on the Windows 10 start menu icon (bottom left-hand corner of the screen) > Settings > Devices
2. Select the Mouse tab (left-hand side menu) > Click on ‘Additional mouse options’

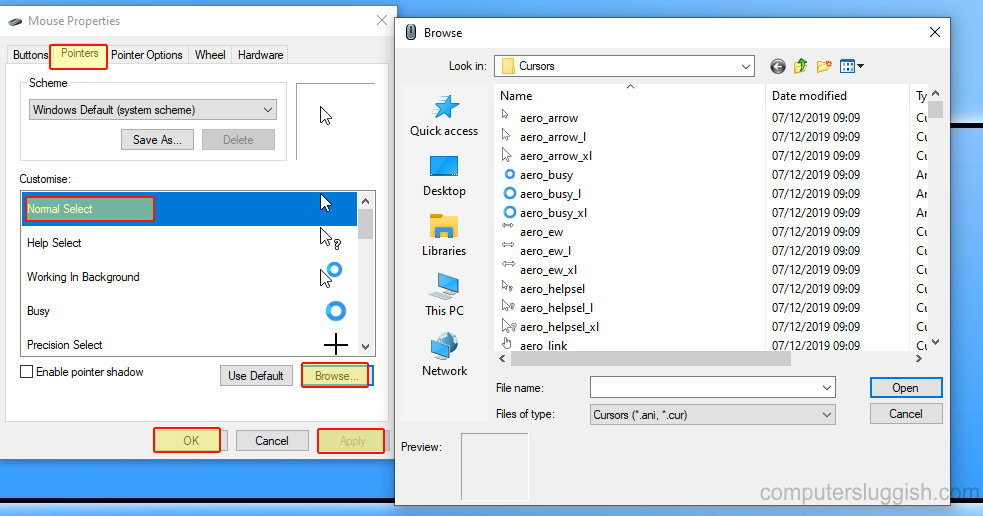
3. Select ‘Pointers’ tab at the top > Click on which pointer you would like to change (e.g ‘Normal select’) > Press Browse > Double click on your chosen icon > Press apply > Press OK
****Top Tips****
– You can save your own ‘scheme’ so once you have changed/chosen all the pointers you want to change then press ‘save as’ and name your scheme
– If you click on the drop-down arrow next to Scheme then you can choose a different scheme to get more Windows 10 mouse pointer options and a different look
– To change a mouse pointer back to normal then just click on the chosen pointer and press ‘Change to default’