
Fix BlueStacks Crashing & Issues
BlueStacks is free software that allows you to use your favourite mobile apps on your Windows 10 PC.
You may just simply want to uninstall Bluestacks from your PC. But if you are having issues such as BlueStacks crashing, freezing, or not booting up on your PC you may want to do a fresh install.
By uninstalling the software completely and then reinstalling it, hopefully, you will be able to sort these issues.
****Top Tip****
You may want to back up your user data so that you can restore all of your data and installed games when you reinstall BlueStacks, but just remember the user data can sometimes be the cause of BlueStacks issues. This can be done in the BlueStacks 4 settings menu
To Completely Uninstall BlueStacks4:
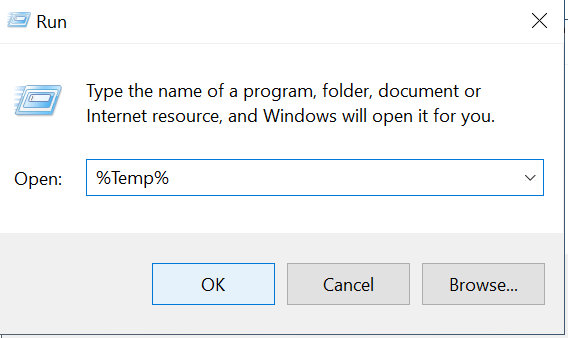
1. Type ‘Run’ into Windows start menu (bottom left-hand corner of screen) > Press Enter
2. Type in the following: %Temp% > Press OK
3. Find BlueStacks folder > Right click > Delete
4. Click on the following Bluestacks link
5. Press Save File > Run Setup File (BlueStacks will start uninstalling) > Restart your PC