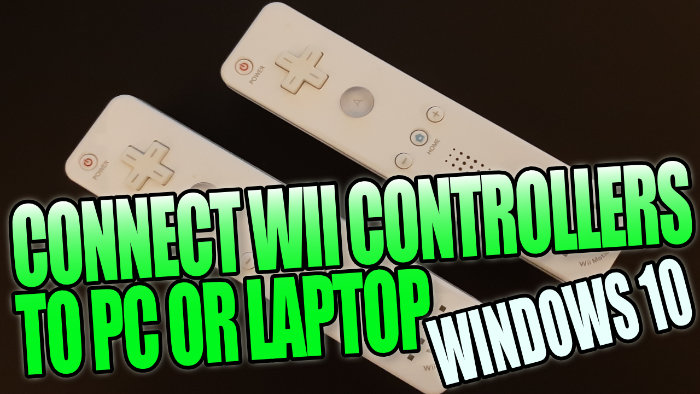
Play PC Games With Your Wii Controllers!
In this guide we will be showing you how to connect a Wii controller to Windows 10 if you enjoy using your Wii controllers and want to use them to play games on your Windows 10 PC or laptop, then this can easily be done. This way you can play your PC games with comfort and wirelessly, without having to use a keyboard or mouse.
You can connect two Wii controllers to your computer if you are playing with a friend.
You will need Bluetooth to be able to connect your Wii controller in Windows 10. If you don’t have Bluetooth built into your computer then using a Bluetooth adapter is also fine.
How to connect Switch Joy-Cons to Windows 10
Below are the steps for connecting and installing a Wii controller on Windows 10.
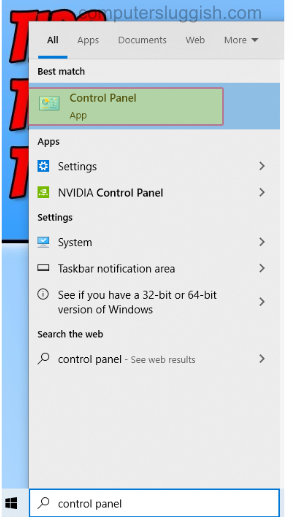
1. Open the Windows Start menu and type in Control Panel > Open Control Panel
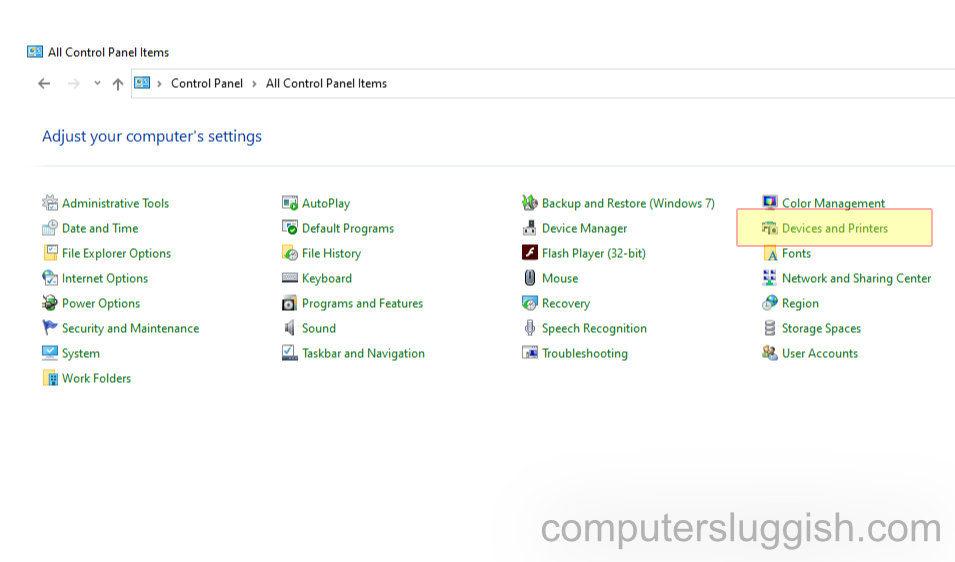
2. Click on Devices and printers
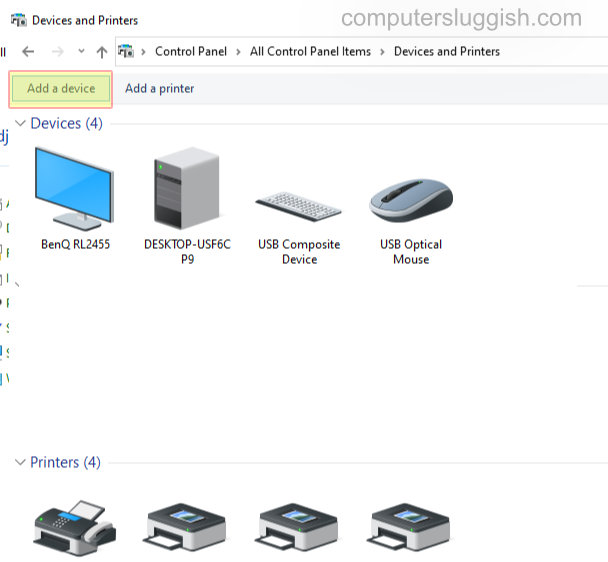
3. Press Add a device > Press the 1 & 2 buttons together on your Wii controller (or take of the battery cover at the back of the controller and press the little red sync button)
4. The lights on the controller will now flash and Nintendo-RVL-CNT-01 will pop up on your screen > Click on next (your lights should still be flashing, if they stop press the sync buttons on the controller again)
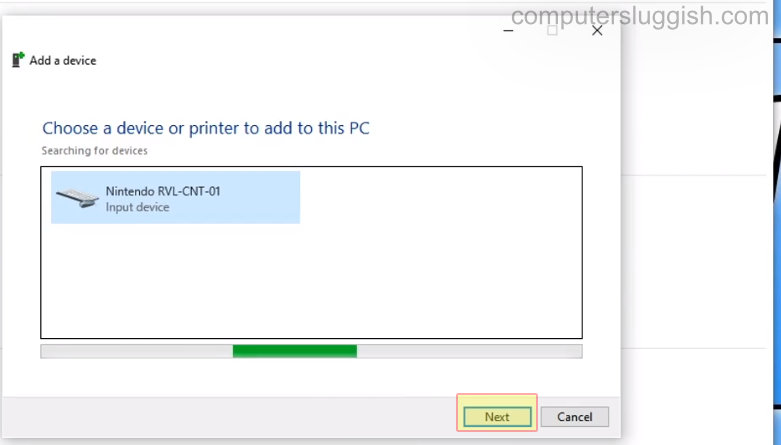
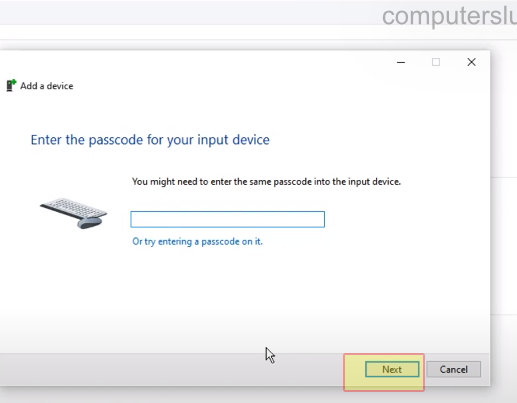
5. You will now have an option to enter a passcode but leave it blank and press next
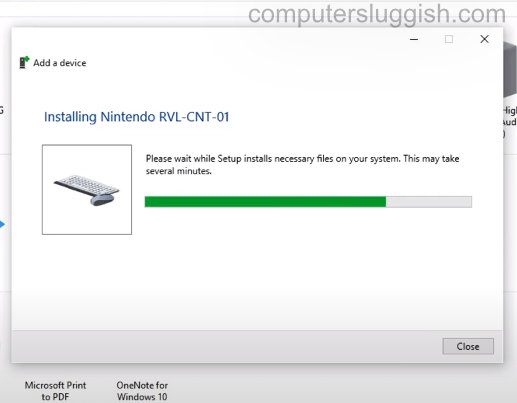
6. Your PC will now start installing your controller and your controller should flash > Once finished installing you should now see the Nintendo-RVL-CNT-01 under Devices (you can now do the same method to add another controller)
We hope the above guide helped you connect your Wii controller to Windows 10 and you are now able to use it to play your PC games if you enjoyed this guide and found it helpful then we are sure you would like our other gaming guides.
