Fix Time & Date Not Displaying Properly!
If you have discovered that the time and date are not showing correctly in Windows 10 then it can be very frustrating, but easily resolved.
Sometimes the time and date can be displayed wrong on your Windows 10 PC or sometimes the settings or time zone need adjusting, so by trying these methods you should hopefully be able to resolve any issues you may be experiencing.
Methods To Fix Date & Time Not Showing Correctly In Windows 10:
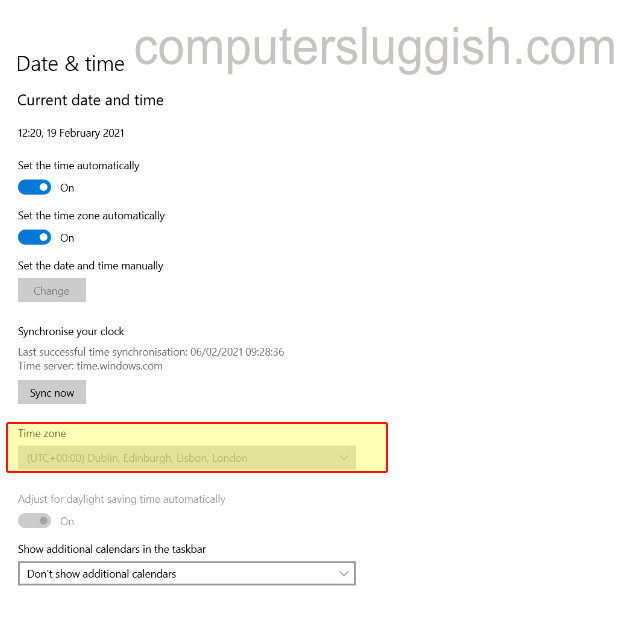
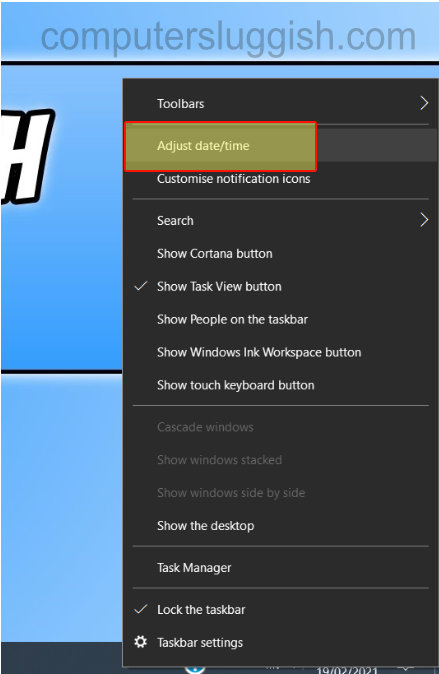
1. Right-click on the clock in the bottom right-hand corner > Click ‘Adjust Date And Time’ > Check ‘Set The Time Automatically’ and ‘Set The Time Zone Automatically’ are turned on

2. Type Services in Windows Search Bar > Open Services app > Find Windows Time > Right click > Properties > Change ‘Start Up Type’ to manual > Apply > Press Start (Service needs to be running so that time & date auto updates) > Press OK > Right click on clock in bottom right hand corner > Click ‘Adjust Date And Time’ > Press ‘Sync Now’


3. Right-click on the clock in the bottom right-hand corner > Click ‘Adjust Date And Time’ > Turn off both auto-updates > Click ‘Change’ underneath ‘Set Date And Time Manually > Set Manually

4. Right-click on the clock in bottom right-hand corner > Click ‘Adjust Date And Time’ > Check Time Zone is correct