

Keep your Folders Hidden and Private!
If you have certain folders which you want to keep hidden or private, then this can easily be done in Windows 10 and can be very handy.
If you are sharing your screen with others or letting your friends and family use your computer, then you may want to make certain folders hidden so that they are not on show. As we record and capture our screen often to record many tutorials, we like to keep certain folders and files hidden ourselves so we know this can be really helpful.
To hide a folder on your Windows 10 PC:
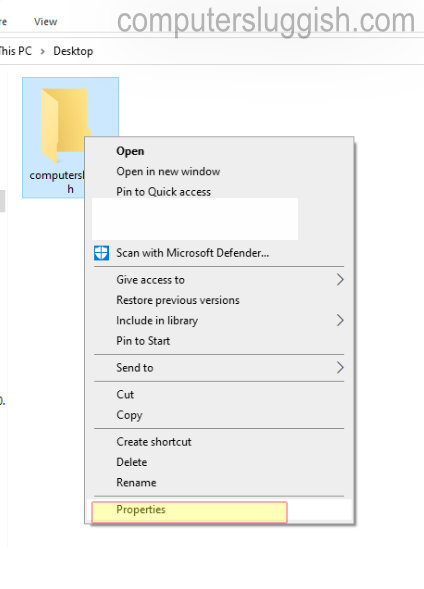
1. Right-click on the folder that you want to be hidden > Click on Properties
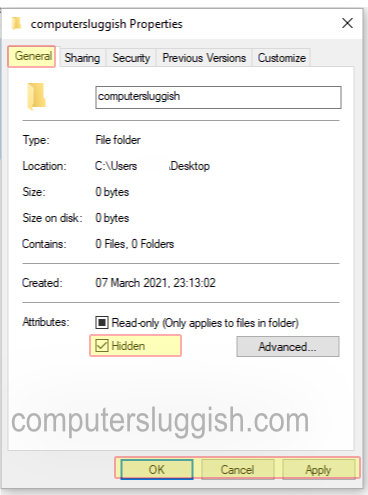
2. Click on the General tab > Tick the box that says Hidden (next to attributes)
3. Click on Apply and OK
You won’t be able to see the hidden folder after you have selected Hidden, even though the folder has not moved location. You will only see the hidden folder if you have the ‘Show hidden files, folders or drives’ option enabled.
To be able to access the hidden folder again:
Method One:
- Type in the directory for the hidden folder into File Explorer > Press enter and it will open to the hidden folder
Method 2:
- Open up Windows 10 File Explorer
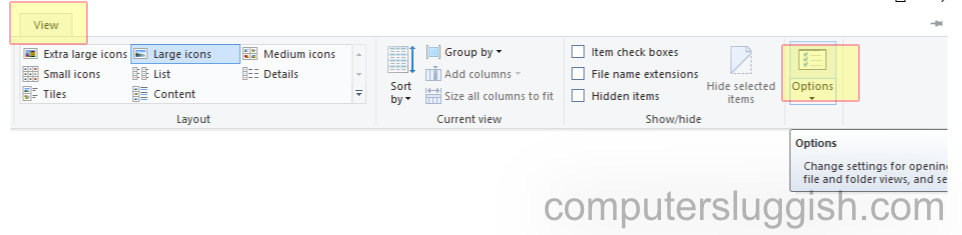
- Click onto the View tab
- Select Options (you will now have the Folder Options window opened)
- Select the View tab > Select the box for Show hidden files, folders and drives
- Press Apply and OK

****Top Tip****
If you want to show the folder again then you can easily do so