This Windows 10 tutorial will show you how to set your desktop background to a slideshow on your PC or laptop.
By changing your desktop wallpaper to a slideshow you will be able to display multiple pictures of your choice on your background, and you can choose how often you want a new image to appear.
Table Of Contents
What is Desktop background Slideshow Windows 10?
The Desktop Background Slideshow feature in Windows 10 allows users to set a rotating selection of images as their desktop wallpaper.
Instead of having a static background, the desktop background slideshow periodically changes the wallpaper based on a specified time interval.
This feature is a part of the personalization options in Windows 10 and can be customized to provide a dynamic and visually appealing desktop experience.
How to set your desktop background to a slideshow in Windows 10:
Follow the below steps to begin setting up a slideshow as your wallpaper.
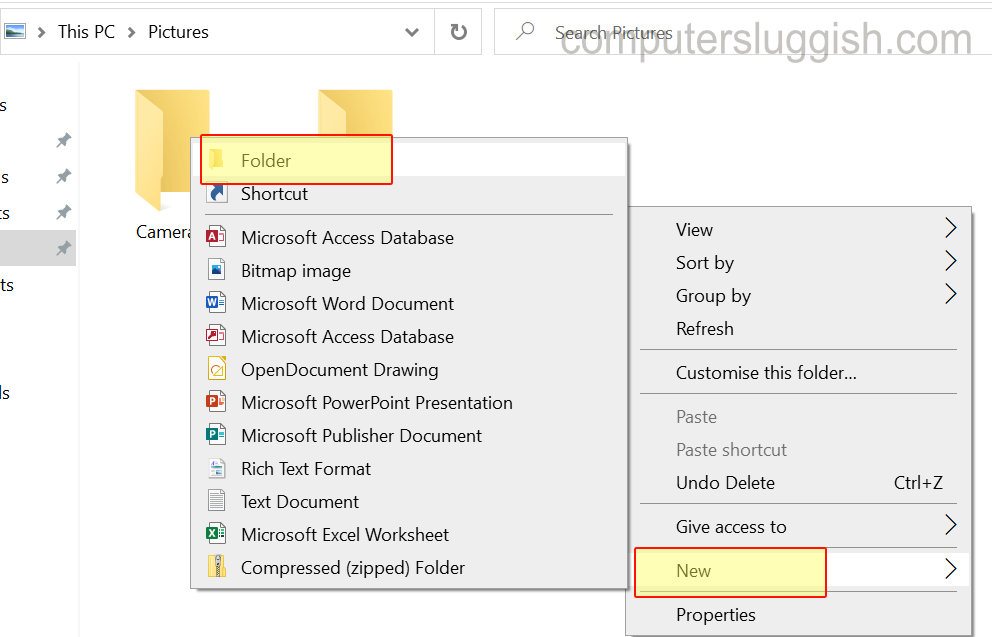
1. Open up File Explorer > Open Pictures Folder > Right click > Create a new folder > Name it background

2. Select images for slideshow > Copy & paste into background folder
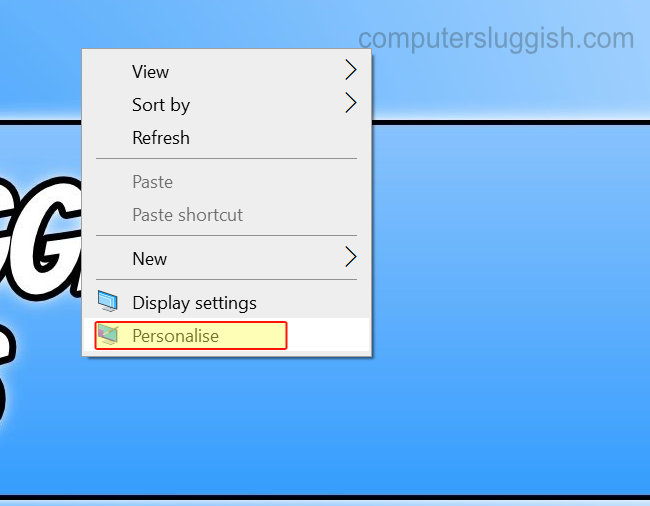
3. Right-click on desktop > Personalise

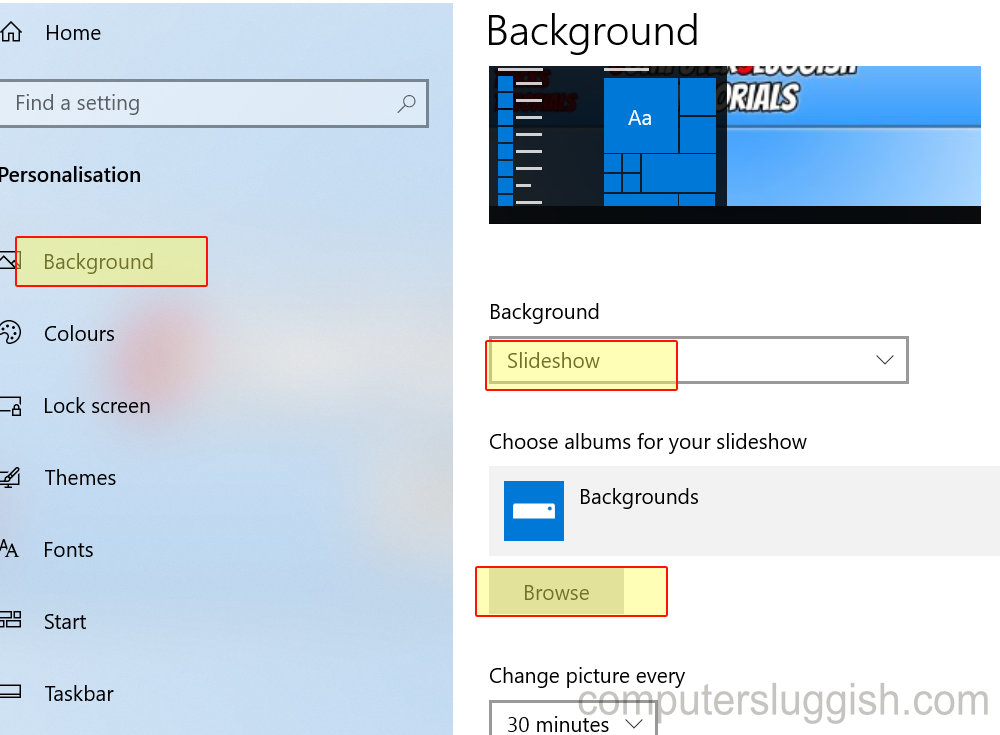
4. Select Background tab (on the left-hand side menu) > Under ‘Background’ select Slideshow using the drop-down menu > Click Browse > Select your new background folder > Click choose this folder (it should now have your background folder under ‘Choose albums for your slideshow’)

- There are a few options you can play around with for your slideshow such as; how often to change the picture, shuffle the images, and how you want them to fit on the screen
- If you want to skip to the next image on your slideshow sooner, then you can right-click on your desktop and press ‘Next desktop background’
That’s it you have now setup a desktop slideshow in Windows 10, I hope you enjoyed the above guide and it helped you set up your favorite images/pictures to be displayed on your Windows desktop.


