

Remove System Error Memory Dump Files On Windows 10 PC Or Laptop
In this Windows 10 post, we will be showing you how you can remove and delete the system memory dump files using disk cleanup on your PC or laptop.
If you are unsure what the memory dump file is, it’s a file that is created when your computer runs into a problem causing it to bluescreen or crash. You can then use the file to figure out what caused your system to fail.
This can save you time and also stop you from accidentally deleting the wrong file if you delete the memory dump file manually. Below we have listed the steps showing you how to remove the system dump files.
Removing Memory Dump File Using Disk Clean-Up:
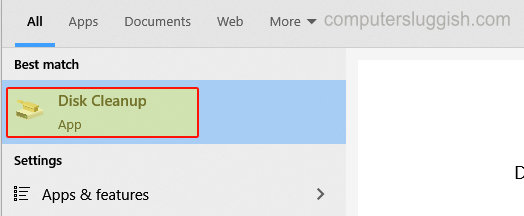
1. Open the start menu and search “Disk Cleanup” and open it
2. Now select your “C:” drive and Press OK (this will only give you more options if you have more than one hard drive)

3. Click on “Clean up system files” > Select your drive again and press OK

4. Deselect any options that are selected > Scroll down to “System error memory dump files” and tick the box so that it is selected > Click on the OK button and then click on Delete files

There you have it that’s how you delete the system error memory dump files from your Windows 10 PC or Laptop using disk clean-up. If you are not allowing Windows 10 to overwrite the dump file then it can become quite a large file over time, if you have a few system crashes.
Check out more of our Windows 10 posts here.