

Disabling Windows 10 Time Service
In this post, we will be taking a look at how you can disable the Windows time service on your PC or laptop.
With this service disabled the time and date on your Windows 10 PC or Laptop will not work correctly and it can cause all kinds of problems with other programs or services that require the Windows time service to be running.
We have listed the steps below for disabling the Windows time service.
Windows Time Service How To Disable:
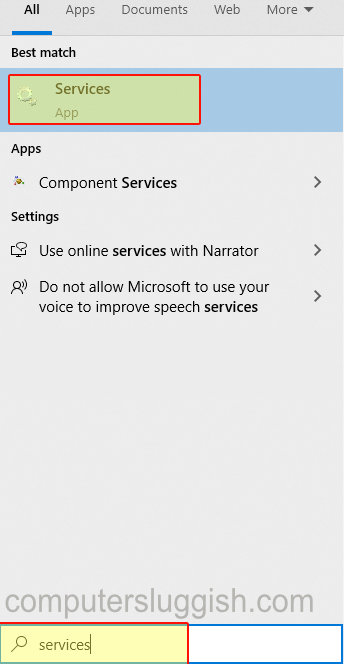
1. Open Windows 10 start menu and search “Services
2. Open Services and find “Windows Time“
3. Right-click “Windows Time” and click Properties
4. Now change the “Startup type” to Disabled
5. Also click “Stop” under “Service status“

There you have it you have successfully disabled the Windows time service. If you do decide you want to enable the time service again just do the above but change the Startup type to “Manual“.
Don’t forget to check out all our other Windows 10 posts here.