

Automatically Free Up Disk Space On Windows 10 PC Or Laptop
Windows 10 Storage Sense will automatically free up disk space on your Windows 10 PC or Laptop. It will get rid of old files that are no longer needed.
Freeing up disk space can help improve the performance of Windows 10 and also help prevent system issues if your drive became too full.
Windows 10 Enabling Storage Sense:
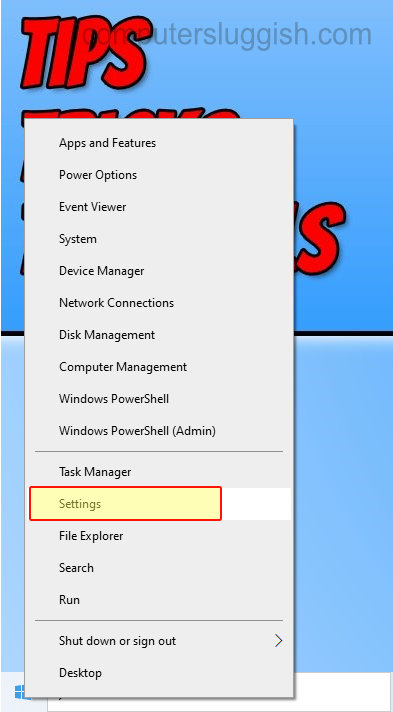
1. Right-click on the Windows 10 start menu icon > Settings
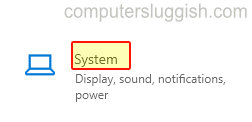
2. Click on System
3. Now click “Storage” in the left-hand side menu
4. Click “Configure Storage Sense or run it now“

5. Under “Storage Sense” toggle to “On“
6. Choose how often you would like Storage Sense to run under “Run Storage Sense“

There you have it that is how you enable Storage Sense on your Windows 10 computer. This will now help keep your system running decent.
Don’t forget to check out our other Windows 10 posts here.