
DirectX 12 Missing From Windows 10 PC Or Laptop
DirectX 12 comes pre-installed with Windows 10. However, if your Windows 10 for some reason is missing DirectX 12 then you can download it through the Check for updates.
We will show you below how you can do this and also how to check that DirectX 12 has successfully been installed on your Windows 10 computer.
Installing DirectX 12 In Windows 10:
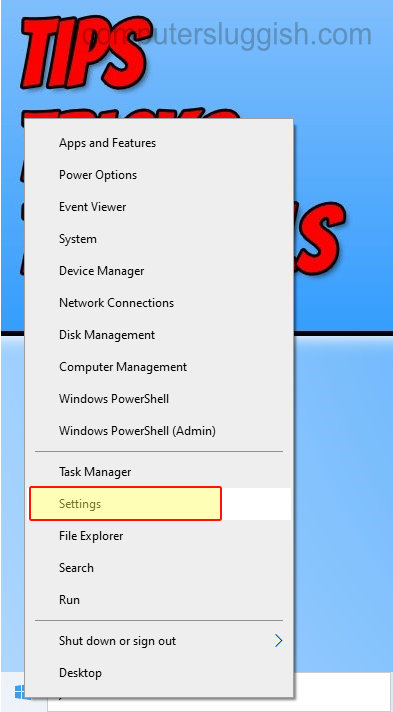
1. DirectX 12 can only be installed through the Windows 10 updates so you need to right-click the Windows Start Menu icon > Click on Settings
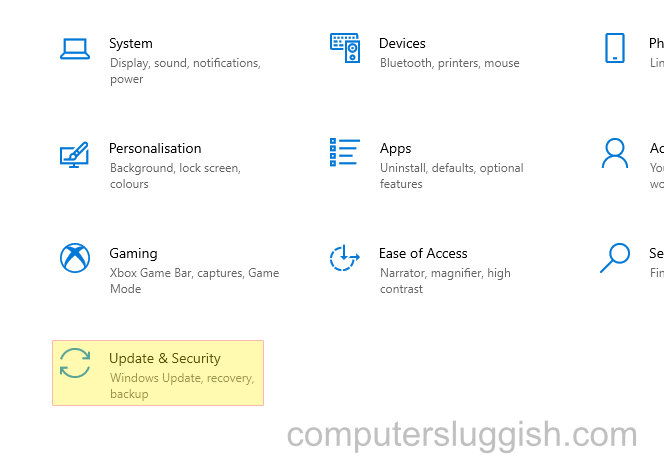
2. Select Update & Security
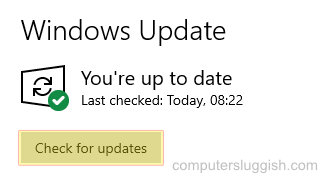
3. Click on Check for updates and see if there are any pending updates that say DirectX 12 (They might show under Optional updates) > If you can see an update for DirectX 12 go ahead and click install
To Check you have DirectX 12 installed on your PC or laptop:
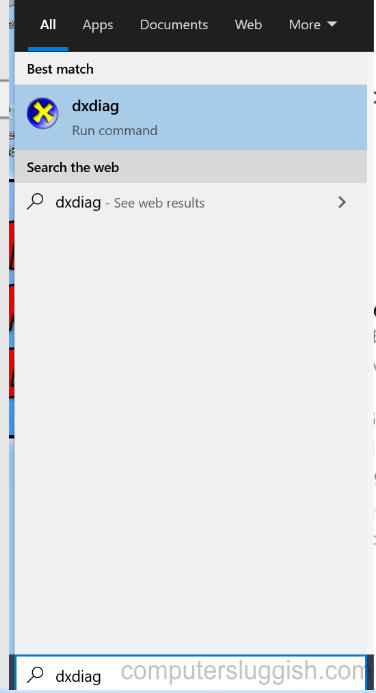
1. Open the Windows start menu and search and open “dxdiag”
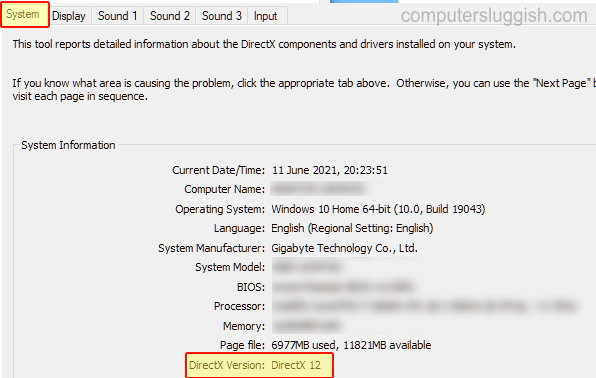
2. Select the System tab and next to DirectX Version it should say “DirectX 12“
That’s how easy it is to install and make sure you have the latest DirectX 12 version installed on your Windows 10 PC or Laptop. If you would like to install an older version of DirectX check out this post here.