
Install & Update Older Versions Of DirectX To Your Windows 10 PC Or Laptop
In this post, we will be showing you how to download and install the older versions of DirectX to your Windows 10 PC or laptop.
DirectX is used for games and some software so it’s very important to ensure you have the latest DirectX installed of the older versions so your games or software run smoothly.
This will install DirectX D3DX9, D3DX10, D3DX11, XAudio 2.7, XInput 1.3, XACT, and/or Managed DirectX 1.1 to your Windows 10 system.
How To Install D3DX9, D3DX10 or D3DX11:
1. Head over to the Microsoft DirectX Web installer page here and under “DirectX End-User Runtime Web Installer” click the Download button > Press Save File
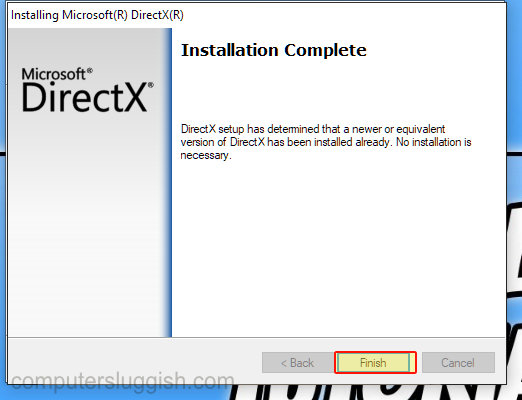
2. Now run the setup file and follow the onscreen instructions

3. Once it has finished installing press Finish
That is how you install the older versions of DirectX in Windows 10. If you would like to install the latest version of DirectX 12 then you will need to do this through the Windows 10 Check for updates.
Check out the video tutorial here on How To Update DirectX in Windows if you are getting stuck.