

Speed Up Slow USB Due To Having Lots Of Files
In this post, we will be showing you how you can optimise and defrag your USB drive. You may have already noticed that you cannot run optimise within the Windows 10 Defragment and optmise drives as it says “optimisation not available”. This is because the likely chance of a USB needing optimising is very slim.
If you have a lot of content on your USB then this can sometimes cause your USB to become slower.
Running a defrag on your USB could help optimise your USB, making it a little quicker. We have listed the steps below to show you how you can defrag your USB drive.
How To Optimise and defrag a USB Drive:
1. Plug in your USB drive
2. Open File Explorer and find out what driver letter your USB is
3. Open the start menu and search cmd > Now open Command Prompt as an administrator
4. Now type the following and press enter: defrag ‘Your Drive Letter here’ /u /v (so it will look like this defrag f: /u /v)
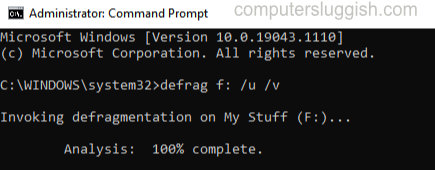
5. If your USB needs optimising it will then begin to defragment your USB and optimise it.
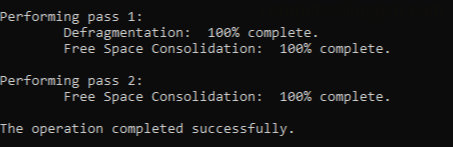
There you have it that is how you can run a defrag and optimisation on your USB in Windows 10. The likely chance that your USB will need defragging will probably be slim due to the fact you might not have enough content on your USB, but if you do and it does run a defrag then it will hopefully help speed up your USB a little bit.
We have loads more Windows 10 posts here.