

Disable & Stop Laptop Going To Battery Saver Mode In Windows 10
In this Windows 10 post, we will be showing you how to never allow your laptop to go into battery saver mode. Although battery saver is a great way to help prolong the life of your battery before it needs charging again and dies, you might not like the changes that battery saver applies such as limiting your notifications and background activity, etc.
So you can stop this from ever happening by making sure Windows 10 never goes into battery saver and we have listed the steps for this below.
Never Let Windows 10 Go Into Battery Saver:
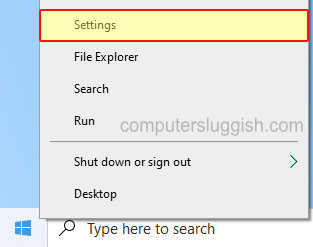
1. Right-click the Start menu icon and click “Settings“
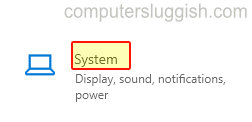
2. Now click on “System“
3. In the left menu select “Battery“
4. Under “Turn battery saver on automatically at” click the dropdown and select “Never“

5. Now under “Battery saver” if On toggle to Off
There you have it your Windows 10 laptop will never enter into battery saver mode again so you can carry on using your laptop like you normally would without being affected. The only difference will be the amount of time that your battery lasts before needing charging.
If you enjoyed this post and found it helpful then we have loads more Windows 10 here.