

Turn Off Battery Saver Mode In Windows 10
In this Windows 10 post, we will be showing you how to turn off the battery saver mode on your laptop.
By default, Windows 10 will go into a battery saving mode to help increase the amount of time you have left until the battery goes flat. But when Windows 10 goes into battery saver mode, what you might not know is to make the battery last longer it actually restricts your notifications, background activity and also reduces the brightness of your laptop screen which is kind of annoying. So below we have listed the steps so you can turn off the battery saver.
****Top Tip****
If you are turning off battery saver because you don’t like your laptop screen brightness lowering in the battery saver mode, then you can stop this by unticking “Lower screen brightness while in battery saver”
Disable Battery Saver In Windows 10:
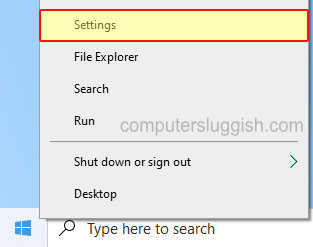
1. Right-click the Start menu icon > Click “Settings“
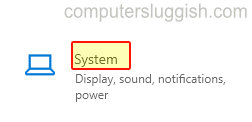
2. Now open “System“
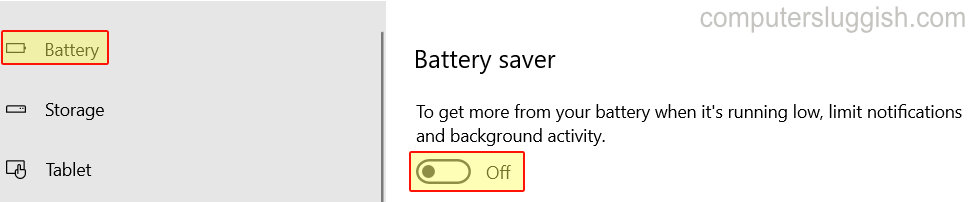
3. In the left menu select “Battery” > Under “Battery Saver” toggle to Off
There you have it thats how you can turn off the Windows 10 battery saver. Just remember that turning off the battery saver when your battery gets low will make it die a lot faster!
If you enjoyed this post then check out our other Windows 10 posts here.