

Turn On Find My Device In Windows 10
In this Windows 10 post, we will be taking a look at how you can turn on Find My Device on your PC or laptop.
This is a fantastic feature that is built into Windows 10 that allows you to track the whereabouts of your Windows 10 device if it was to go missing or stolen, so it’s definitely worth having this setting enabled.
Even if you are only able to track the last location that Find My Device detected, it’s still a great starting point.
****Top Tip****
You will need to be signed in with a Microsoft account and not a local user to be able to use Find My Device
Enabling Find My Device In Windows 10:
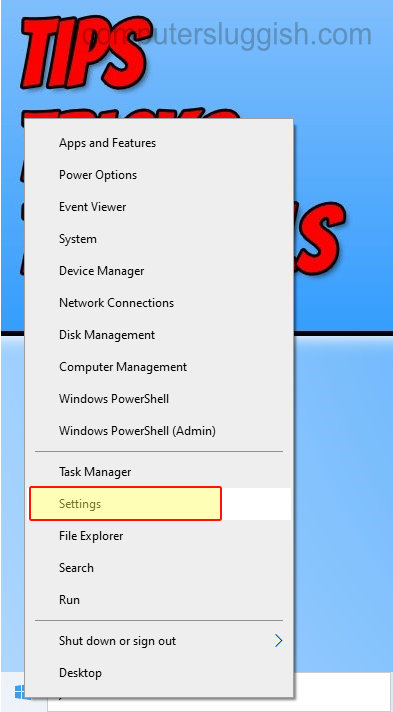
1. Right-click Start menu > Settings
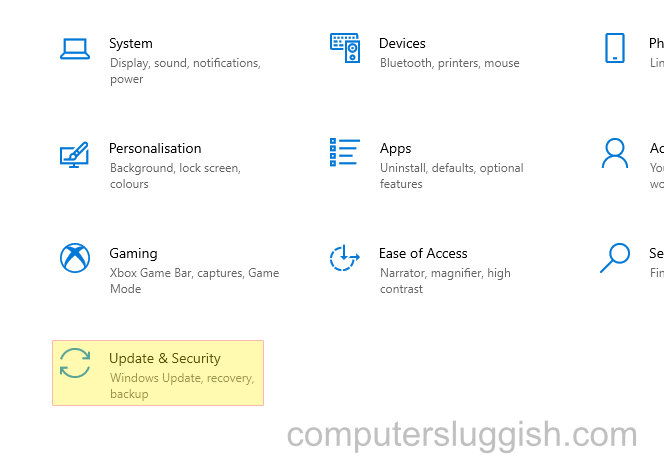
2. Click on “Update & Security“
3. Now click “Find my device” in the left menu
4. You now need to click “Sign in with your Microsoft account to use or change Find my device” and sign in to your Microsoft account
5. Next click “Turn on the location setting” and enable location services
6. Now under “Find my device” click the “Change” button and toggle to On

7. You can now see your device’s location on your Microsoft account in your web browser
There you have it that is how you enable “Find my device” in Windows 10. Like we said this is a great feature to have on, especially if you are using a laptop and you take your laptop out of your house with you to cafes etc.
Check out our other Windows 10 posts here.