

Install Blizzard App On Windows 10 PC or Laptop
In this post, we will be showing you how to install the Battle.net app on your PC or laptop.
If you are not too sure what this program is, it’s a program made by Blizzard that allows you to play Blizzard games like World of Warcraft, Diablo and also includes the much loved Call Of Duty Games.
So to be able to play any of these games you need to have a Blizzard account and the Battle.net app, to then be able to download, install, update and play the games. Below we have listed the steps on how to install the Battle.net app.
Installing Battle.net app In Windows 10:
1. First you need to go here and download the Battle.net app
2. Once downloaded run the steup file
3. Now follow the on screen instructions

4. Once installed open Battle.net app
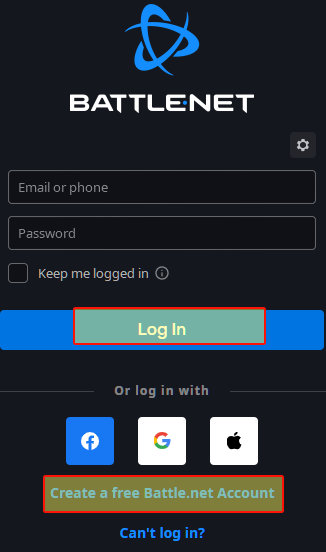
5. Now sign in to your Blizzard account or if you don’t have one then create an account
6. You can now download and install games
There you have it that is how you install the Blizzard Battle.net app in Windows 10 on your PC or Laptop, and you can now enjoy playing your favourite games on your computer!
Check out more of our Windows 10 gaming guides here.