
Download Windows Scan For Windows 10 Make Scanning Easier
In this post, we will be taking a look at how you can download and install the Windows Scan app on your PC or laptop. But before we go any further did you know you can actually scan without any software or apps? Check out this post here.
So back to Windows Scan, this app will allow you to easily scan your pictures and documents from your scanner or printer scanner then choose where you would like to store them on your computer.
Windows Scan will also detect if you are trying to scan multiple pages using the document feeder or just one in the scanner’s flatbed. See the steps below on how you can get this app.
Installing Windows Scan Onto Your Windows 10 Computer:
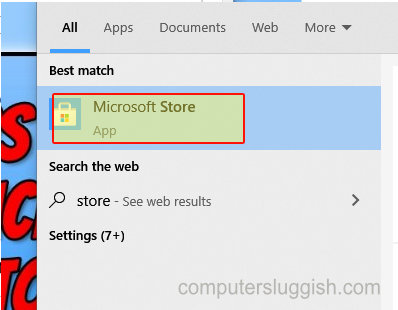
1. Open the start menu and search “Microsoft Store” and open it
2. Now click the “Search” button in the top right
3. Now search “Windows Scan“

4. Select Windows Scan > Now click the “Get” button > Windows Scan will begin to download and install

5. Once finished click the “Launch” button > You can also find the Windows Scan app in your start menu but it will just be called “Scan“
There you have it that’s how you install Windows Scan onto your Windows 10 PC or Laptop. Hopefully, this app will help make scanning a lot easier for you, and you will find using Windows Scan straightforward.
Also, check out more of our Windows 10 posts here.