

In this guide, we will be taking a look at how to delay Windows 10 startup programs. Have you been using the same version of Windows 10 for a while without resetting the operating system back to its original default settings? If you have then you might have noticed that when logging into Windows 10 it might have become very slow.
The chances are that this is because you have had Windows 10 installed for a long period of time, and you might have too many programs trying to boot at the same time. Causing Windows 10 slow startup and slow boot.
Well, the good news is that you can actually put a delay on your Windows 10 startup programs, which will remove some stress on your system. This will help to fix your computer having a slow startup and of course speed the boot time of Windows 10.
Related: Disable Windows 10 startup programs
Where is the Windows 10 startup folder?
The Windows 10 startup folders contain the Windows 10 startup programs, and there are two different locations in File explorer. One startup folder is for all users, so the programs in this folder will startup when signing into any user account on your PC or laptop. The other startup folder is only for that user, meaning any programs in this folder will only startup when signing into that user profile.
Windows 10 startup folder all user’s location:
- C:\ProgramData\Microsoft\Windows\Start Menu\Programs\Startup
Windows 10 startup folder single user location:
- %AppData%\Microsoft\Windows\Start Menu\Programs\Startup
How to delay startup programs in Windows 10
Below are the steps on how you can delay Windows 10 startup programs using the handy Task Scheduler tool in Windows 10. So there is no need to download any additional software to your Windows 10 PC or laptop.
1. Open the Windows 10 start menu and search “task scheduler” > Now open Task Scheduler
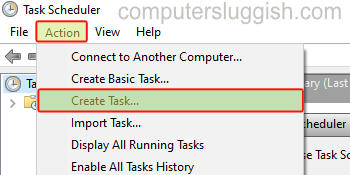
2. Click Action > Then select Create Task
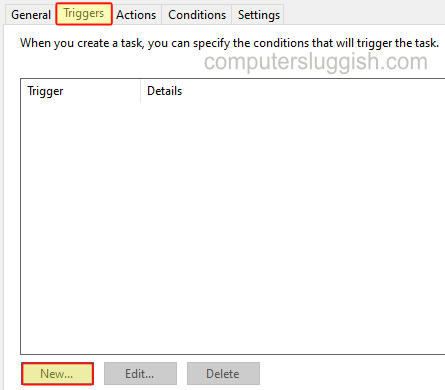
3. Go to the ‘Triggers tab’ > Click ‘New‘
4. Create a new Trigger and change the settings to suit:
- “Begin the task” – Change to “At log on“
- “Settings” – Choose Any User or select a Specific user for the program to start up with
- “Delay task for” – Set to your chosen time for example 15 minutes
- “Enabled” – Select this so it has the box ticked
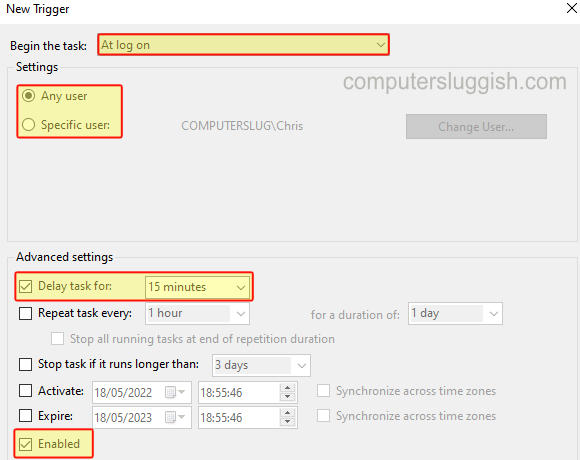
- Once happy press OK
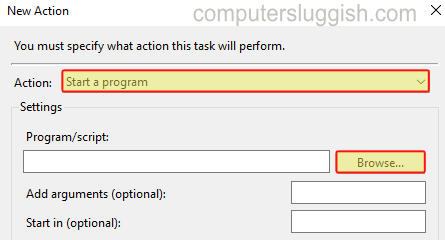
5. Go to the ‘Actions‘ Tab > Click ‘New‘ > Change the Action to “Start a program” > Browse the path of the program you want to start > Click OK
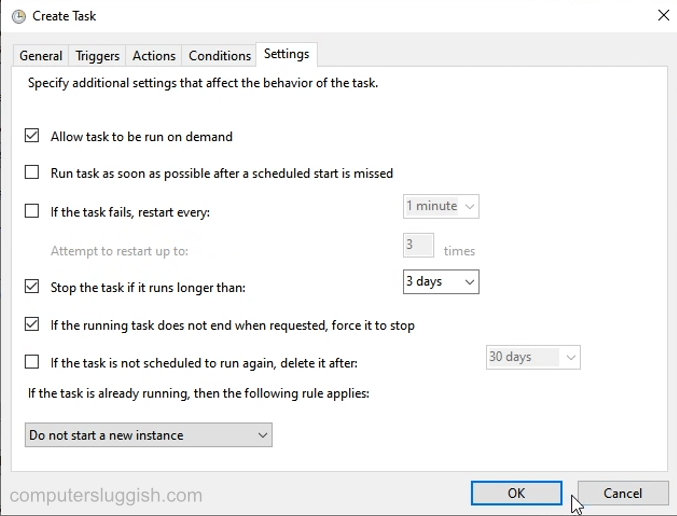
6. Check the Conditions tab and Settings tab to make sure you are happy with all the settings > Click OK
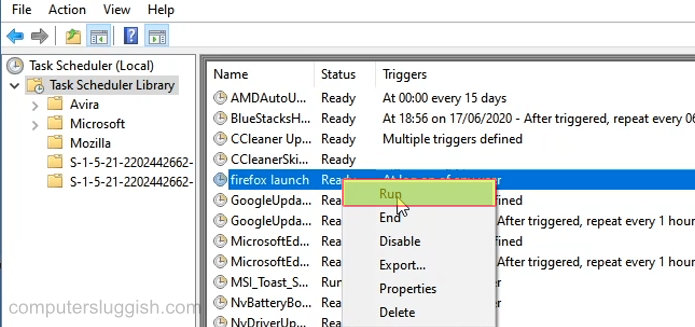
7. You will now see under Task Scheduler Library your new task has been created > You can test your Task Scheduler task by selecting it then right-clicking and selecting Run
8. When you log into Windows your program will start up once the delay timer has finished
I hope the above guide helped delay your Windows 10 startup programs, letting you sign in to Windows faster and start using it before the programs you have delayed start loading.
If you found this guide helpful then we are sure you would like our other Windows 10 guides.