

Enable Ethernet Adapter On PC Or Laptop
In this post, we will be showing you how you can enable your ethernet network adapter on your PC or laptop.
If for some reason you have disabled your ethernet adapter or you have just fitted a new ethernet network card or adapter to your computer and it’s not working as it could be disabled, then don’t worry because its not too difficult to enable your ethernet adapter. It can all be done within the Windows 10 settings, see the steps below.
Enabling Ethernet Network Card:
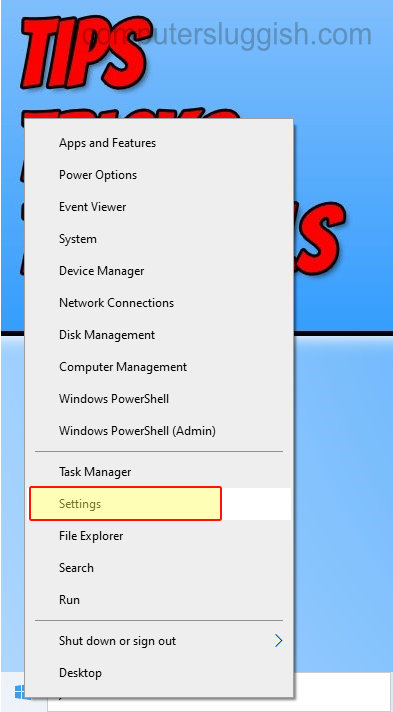
1. Right-click start menu icon and click “Settings“
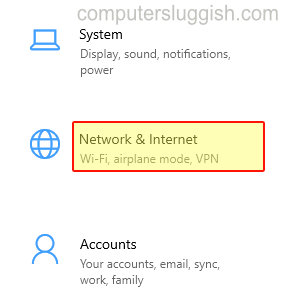
2. Now go onto “Network & Internet“
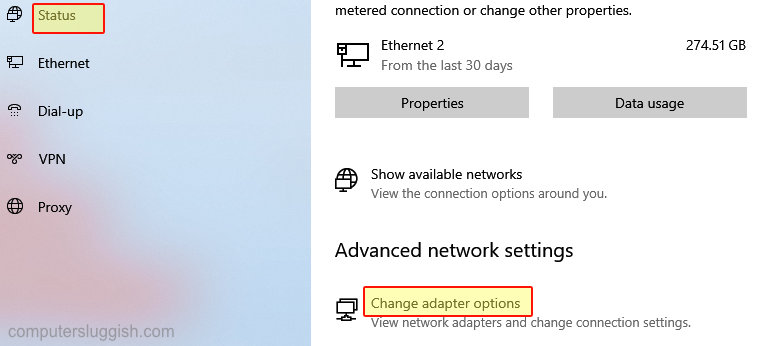
3. Click “Status” in the left menu > Click “Change adapter options“
4. Right-click on your Ethernet network adapter > Click “Enable“
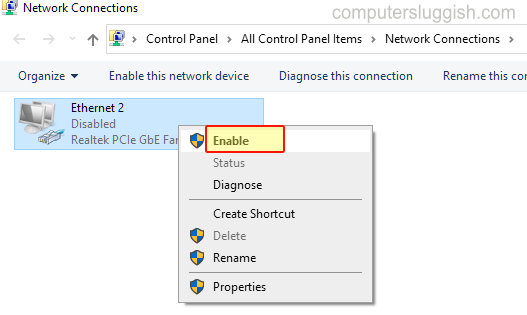
5. Once enabled it will no longer say disabled it will say network

There you go that’s how you can enable an ethernet network adapter in Windows 10. If you enjoy playing games or just want a faster connection to your computer it’s always good to use a wired connection over wireless as it’s faster and more stable.
Check out more of our Windows 10 posts here.