

Delete Devices That Are Paired To Computers Bluetooth
In this post, we will be taking a look at how you can remove a Bluetooth device from your Windows 10 PC or Laptop.
If you have added a device to your computer through Bluetooth but you no longer want it to be connected then you can easily remove the device so it can no longer communicate with your computer. We have listed the steps to do this below.
How To Delete A Device From Bluetooth In Windows 10:
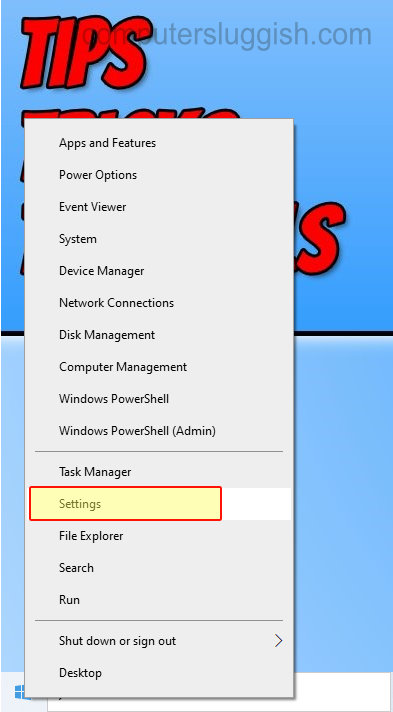
1. In Windows 10 right click start menu icon > Click “Settings
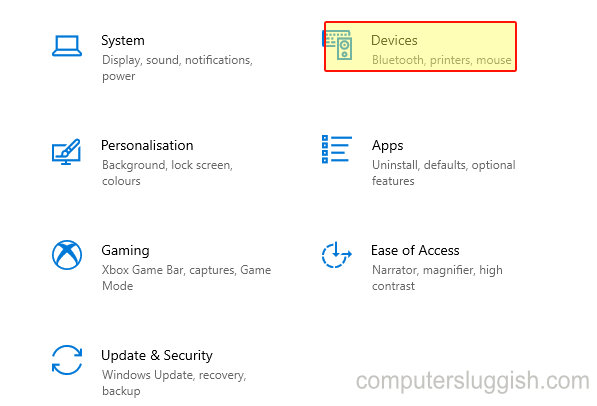
2. Now click on “Devices“
3. Click on the “Bluetooth & other devices” from the left menu
4. Now look for the device in the devices list that you would like to remove (It will usually say “Paired” or “Connected” under the device, or if your Bluetooth is switched off it will say “Bluetooth is turned off”)
5. Now select the device and click “Remove device“(If you are unable to remove the device then you will need to turn on Bluetooth)

6. A window will pop up saying “Are you sure you want to remove this device?” > Press Yes > Your device should now disappear from the devices list
There you have it that’s how you remove a device from your Bluetooth in Windows 10.