

Enable Metered Connection In Windows On PC or Laptop
In this post, we will be taking a look at how you can turn on metered connection. This will limit the amount of data that Windows 10 uses.
This is great if you have limited data available and perhaps you are hotspotting your mobile phone and only have so much data, or you have connected to a WiFi with limited data. It’s fairly straight forward enabling metered connection and we have listed the steps below.
How To Turn On Metered Connection and Limit Data:
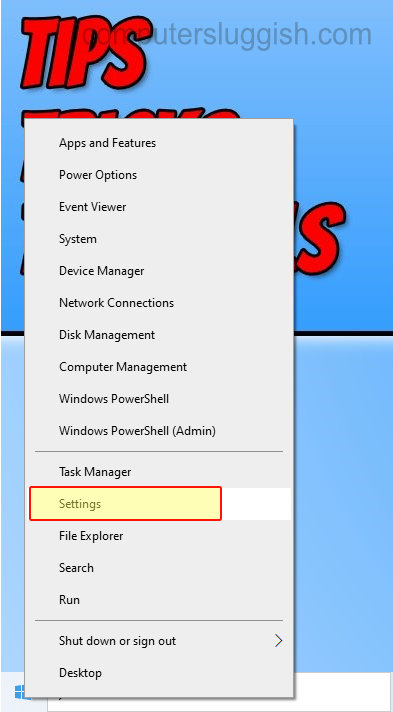
1. Right click start menu > Settings
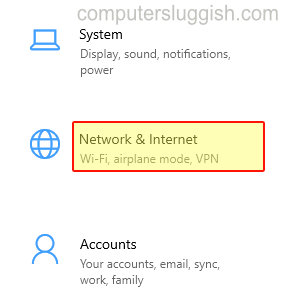
2. Click on Network & Internet
3. Click “Properties” under your adapter
4. Under “Set as metered connection” toggle to “On“
5. Now click “Set a data limit to help control data usage on this network“

6. Now click “Data usage” button > Click “Enter limit” button
7. Now fill in a limit then click Save

There you have it that is how you limit the amount of data that Windows 10 uses on your PC or Laptop.
Just remember some programs or games might not work correctly if you have enabled metered connection. Check out more helpful Windows 10 posts here.