

In this Windows 10 & 11 guide, we will be taking a look at how you can remove previously installed AMD drivers using the AMD Cleanup Utility program.
If you are having issues with your AMD Radeon graphics card and you have already tried removing the latest graphics driver and installing it again with no success, then you could try using AMD Cleanup Utility to remove previously installed AMD Drivers.
What is AMD Cleanup?
As I mentioned above, the AMD Cleanup will literally do a cleanup of your old installed AMD drivers, driver store, Radeon software, and registries. It will also remove your currently installed AMD display and audio drivers from your Windows 10 PC or Windows 11 PC.
This will then give you the chance to install the latest AMD video driver, which will hopefully fix any problems you have been facing with your Radeon graphics card driver not working correctly in Windows.
Before doing the below steps ensure you have a backup of any important files on your PC or laptop. Just in case anything was to go wrong!
Also, if you are in need of installing an older version GPU driver, then check out our guide on downloading older AMD Radeon graphics drivers here.
Do you have to use safe mode to run AMD Cleanup Utility?
No, you do not need to use the AMD Cleanup Utility in safe mode for it to work.
It is recommended to use it in safe mode for best results however, AMD Cleanup will still work in normal Windows. And you will still be able to remove old AMD drivers that have been installed on your Windows PC.
AMD Cleanup Utility cannot complete while Windows update is running Error?
If you are having this message pop up when you are trying to use AMD Cleanup, then that is because it has detected an update running in the background for Windows, and you will need to complete the Windows updates first.
Go to “Check for updates” in the Windows Update settings, and just install all the updates that are available for your system. Then restart your computer and run AMD Cleanup Utility again.
How to use AMD Cleanup Utility to delete old AMD drivers:
1. First, you need to go to the AMD website here and download the program by clicking on the AMD Cleanup Utility for Windows link
2. Find the download location (for example Downloads folder) > Run the AMD Cleanup .exe
3. You can now choose if you would like to use reboot using Safe mode or not (the choice is yours)

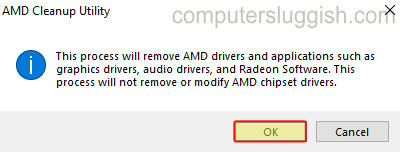
4. You will get a message pop-up saying “This process will remove AMD drivers and applications such as graphics drivers, audio drivers, and Radeon software.” > Press OK
5. It will then detect and begin to remove previous AMD drivers
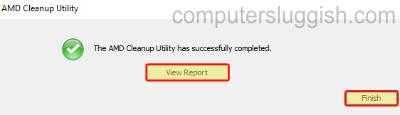
6. Once complete you will then be able to View Report > Click Finish
7. Restart your computer and your previously installed AMD drivers, applications, utilities etc will have been removed
Related: How to update AMD graphics drivers
I hope the above guide has helped in removing the AMD drivers, driver store, and registries from your Windows 10 or 11 computer.
If you found this guide helpful then we are sure you would like our other Windows guides.