
Windows 10 Free Preinstalled Disk Cleaning Tool
In this Windows 10 post, we will be showing you how to use the Windows disk clean-up on your PC or laptop.
If you are unsure what disk cleanup is and what it does then basically it’s a cleaning tool that allows you to clear up old unneeded temporary files. And of course, once these files have been removed it will then free up disk space giving you more space to store things onto your hard drive. So it’s always a good idea to run a clean-up from time to time.
There are other cleaning programs that you can install on your computer in Windows 10. In this post here we take a look at our top 5. But either way disk clean-up is still a very good tool that comes preinstalled on your computer. We have listed the steps for using it below.
Using Disk Clean-Up In Windows 10:
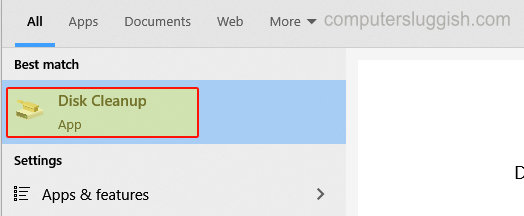
1. Open the start menu and search “Disk Clean-up” and open it
2. If you have more than one hard drive you now need to select the drive from which you would like to remove some files from > Start with your C: Drive

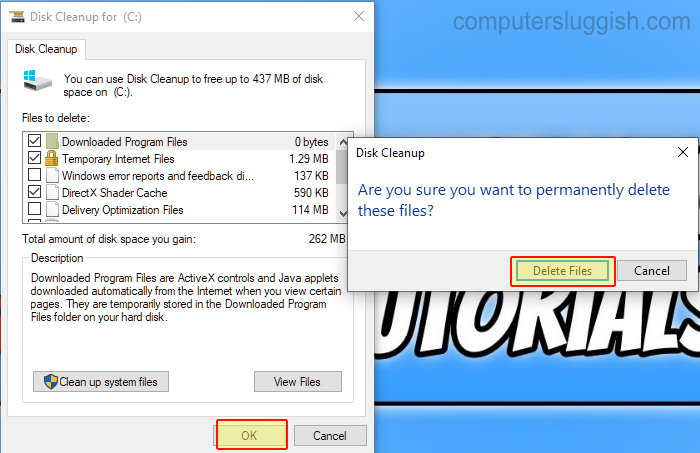
3. You will now have a list of stuff that you can remove from your computer > Select what you would like to clear by ticking or unticking the boxes (just keep in mind once you press delete the files will be gone)
4. Once you have selected the files that you would like to remove click “OK” then “Delete Files“
****Top Tip****
You can also click the “Clean up system files” to remove even more temporary files from your computer

There you have it that’s how you can easily use Windows disk Clean-up. It’s very basic in comparison to other disk cleaners, but it still does a great job at doing what needs to be done.
Check out more of our Windows 10 posts here.