
Install PunkBuster Service To Your PC Or Laptop
In this post, we will be taking a look at how you can download and install PunkBuster to your Windows 10 PC or Laptop.
If you are trying to play a game that requires PunkBuster to be able to play online, you might have noticed that you are getting a PunkBuster error or being kicked by PunkBuster because you don’t have it installed. We have listed the steps below on how you can get the PunkBuster service installed on your computer.
Installing PunkBuster On To Your Computer:
1. First you need to go to the following PunkBuster link here and download the PunkBuster Service Installer (pbsvc)
2. Once downloaded go ahead and run the pbsvc.exe setup file
3. Select “Install / Re-Install PunkBuster Service” and click Next

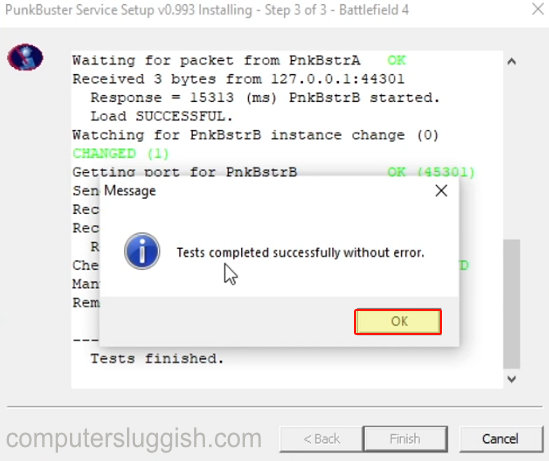
4. PunkBuster service will begin to install > Once installed click Next and it will then test to make sure PunkBuster is installed successfully
5. Once the tests have been completed you will get a message saying “Tests completed successfully without error.” > Click OK
There you have it that is how easy it is to install the PunkBuster service in Windows 10. You will now be able to enjoy your games that require PunkBuster online.
Don’t forget to allow PunkBuster in your firewall or you will still get a PunkBuster error.