

How To Make An Old Program Or Game Run In Windows 10
In this post, we will be showing you how you can change the compatibility of a program or game on your PC or laptop.
If you are struggling to get a program or game to run in Windows 10 as the program or game was originally developed for a different version of Windows, then by changing the compatibility it might just work at getting that game or program to run in Windows 10.
By changing the compatibility you can choose a few different options such as; Windows Vista, Windows Vista (Service Pack 1), Windows Vista (Service Pack 2), Windows 7, and Windows 8.
Changing The Compatibility Mode Of Games & Programs:
1. Firstly find the shortcut of the program or game that you would like to change the compatibility of
2. Right-click on the shortcut and go to Properties > Select the Compatability tab
3. Under “Compatibility Mode” tick “Run this program in compatibility mode for:“
4. Now select which version of Windows you would like to run the compatibility in
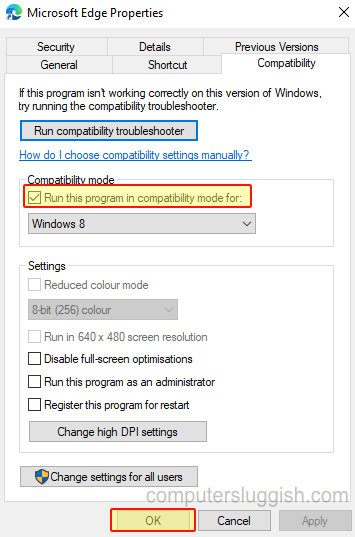
5. Then click Apply and “ok“
There you have it that is how you can change the compatibility of a game or program for a different version of Windows.
We hope this has helped to get whatever it is to run again. If not then you could try using the compatibility troubleshooter.