Make MSI Afterburner Look Awesome!
In this guide, we will be showing you how to change the appearance of MSI Afterburner, if you have already downloaded and installed MSI Afterburner, then did you know that you can change the skin to look make it look awesome.
MSI Afterburner is a free graphics card overclocking utility, which allows you to monitor and maximize your GPU.
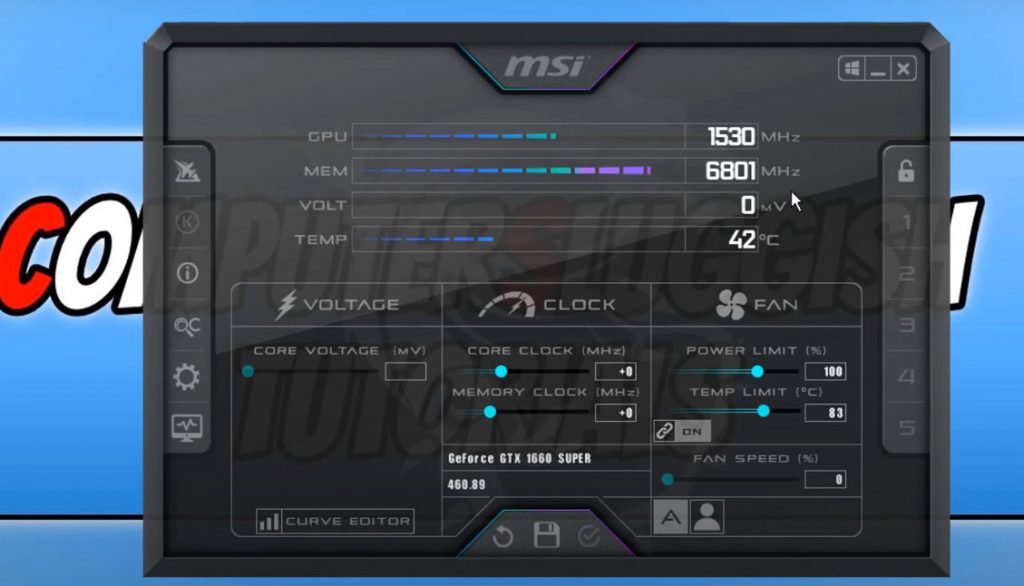
Once you have installed Afterburner on your Windows 10 PC or laptop it will have a classic look with a default skin. But you can easily change the skin if you want it to look cool and to your own taste.
If you haven’t already given it a try then you can find out how to download MSI Afterburner here. If you struggle to download it from their website due to them changing it then check out this post here.
Just be very careful when it comes to overclocking and make sure you know what you are doing before making any adjustments as if you do it wrong you could cause serious damage to your PC
To change the MSI Afterburner skin:
Below are the steps for changing the skin for MSI Afterburner.
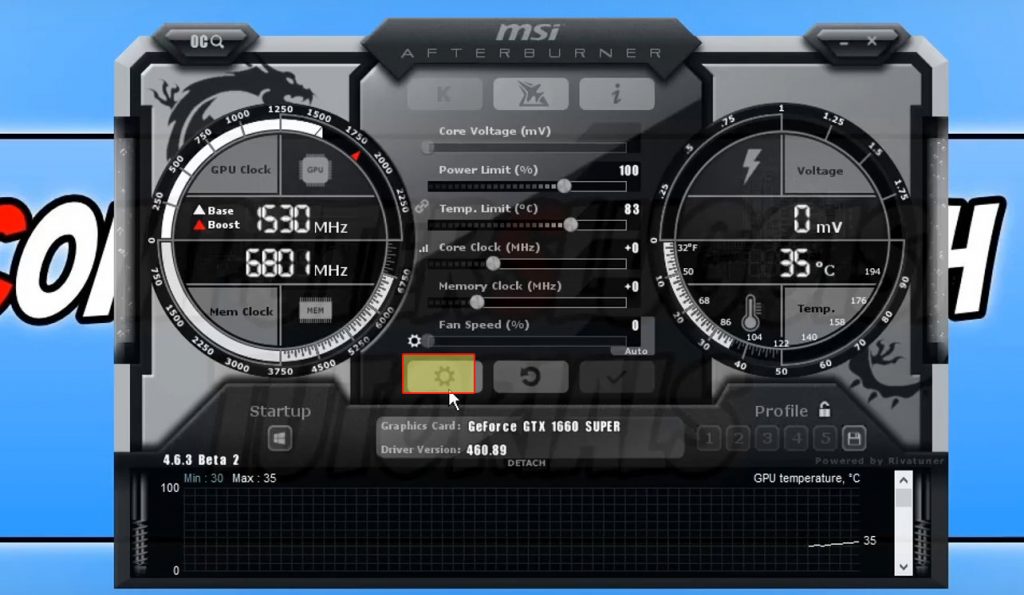
1. Open MSI Afterburner > Click on the Settings cog
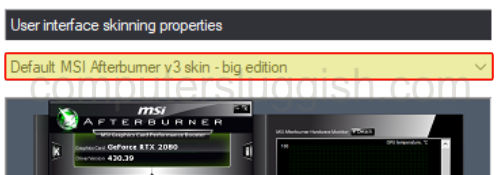
2. Scroll the top tabs all the way to the right and click on User interface
3. Click on the drop-down arrow underneath User interface skinning properties > Select a skin (when you click on skin you will see a preview in the preview window) > Press apply (the skin should now change)