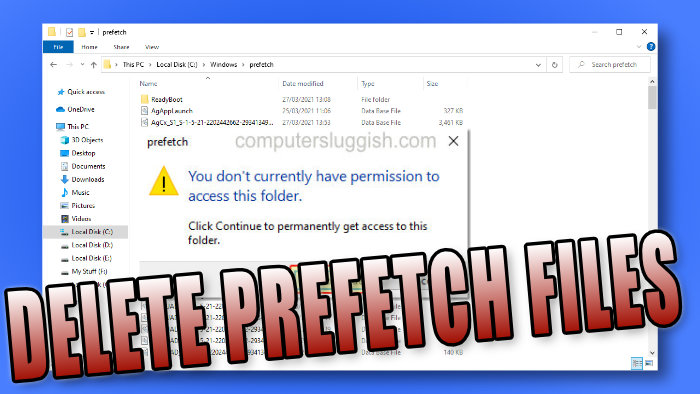
Deleting The Prefetch Folder Files In Windows 10 Is It Safe?
The prefetch folder is the location where Windows 10 stores files that help speed the loading times of programs.
The prefetch files can help improve the load times of Windows 10. So if you have programs that launch on sign-in, this folder stores the files to make them launch faster.
However, you can also end up with old files for programs you no longer have installed in Windows 10.
Luckily for us, we can delete the files that are within the prefetch folder and it’s safe to do this.
In fact, there are many disk cleaning programs you can download which will do this for you. Check out our top 5 favorite disk cleaners here. Or alternatively, you can delete the prefetch files manually.
****Top Tip****
You will need to be signed in as an administrator to be able to delete the files in the prefetch folder.
How To Delete The Prefetch Files
1. Open File Explorer > In the title bar you now need to go to “C:\windows”
2. You now need to find the “Prefetch” folder then double click the folder. (If you can’t see the prefetch folder try unhiding hidden folders check out this post.)
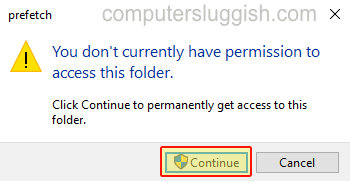
3. When you double click the Prefetch folder if you get a window pop up saying “You don`t currently have permission to access this folder” you need to click the Continue button.

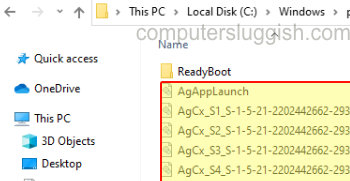
4. You can now delete all the files within the folder or manually select the files you wish to delete.

That is how you manually delete the files within the Windows 10 prefetch folder once you have finished deleting the files restart your PC or laptop and you should hopefully feel a slight increase in performance.


