
If you want to clear the DirectX shader cache, then this is very easy to do in Windows 10. The DirectX shader cache can cause many problems so if you have been having a few graphical issues with some games, programs, apps, or even your web browser, then clearing the DirectX Cache might be the answer to resolving the problems. So I have listed the steps below on how to delete the cache.
Deleting the DirectX cache can fix issues with games, software, and apps in Windows 10. If you are using Windows 11 then the methods are the same and you can still clear the DirectX shader cache within Windows 11.
The DirectX shader cache is used to help improve load times within your games and applications however, if one of the cache files has become corrupted then it could cause issues on your Windows 10 PC or laptop.
Can Clearing DirectX Cache Files Cause Problems?
No, clearing the directX cache files is safe and will not cause problems with your games or apps. If anything, it might take slightly longer for them to first load as the files will need to be recreated, but after that everything will be as normal.
Why Clear DirectX Shader Cache?
If you have been having graphics and DirectX issues with some of your games or programs in Windows 10, then clearing the DirectX shader cache could help resolve the issue. If it does not then you could always try updating your DirectX.
Also, you can end up with old DirectX Shader cache files from programs and games that you no longer use or have installed and no longer need. These take up valuable disk space, so doing a reset shader cache in the Windows Disk Cleanup tool, will help to free up system space as it will remove the old cache files for you.
Also, the DirectX shader cache is safe to delete.
Related: Clear NVIDIA shader cache
How to clear DirectX cache:
Below are the steps to delete DirectX shader cache from a Windows 10 computer.
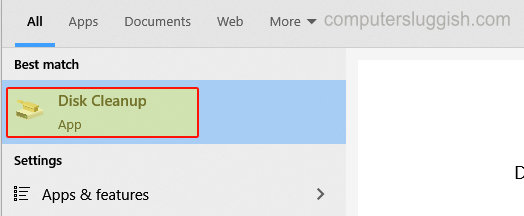
1. Open the Windows 10 start menu and search “disk cleanup” > Open Disk Cleanup
2. You will now need to select your C: Drive and click OK (Work your way through the other drives if you have more than one)

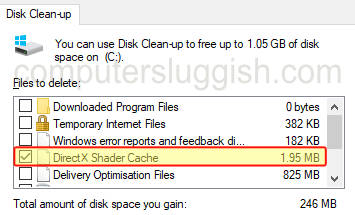
3. Now select DirectX Shader Cache from the list then click OK and Delete Files
Once you have finished removing the DirectX Shader Cache go ahead and try playing the game or launch the program you were having issues with, and hopefully it would have sorted the graphical issues for you. You may find our other Windows posts useful here.