

In this guide, we will be taking a look at how you can remove the black border or black line that you are getting around your monitor’s display or screen in Windows 11.
If your Windows 11 PC is not stretching to the edge of your monitor’s display then don’t panic just yet as there are a few things that you can do with Windows 11 to fix this, which we have listed below.
What If The Methods Do Not Fix The Black Border?
If the methods below do not remove the black border around your display in Windows 11 then you will need to figure out what the cause is. So the first thing you can try is connecting your display to another computer to see if it is the monitor, then you will know if it’s Windows 11 causing the issue.
If that’s the case then you might need to do a reset of Windows, or it could be your graphics card so if you are using an NVIDIA graphics card this guide should help.
Why Am I Getting Black Borders Around My Display in Windows 11?
The most common cause is because the resolution, scaling, or graphics driver is either incorrect or has not been set up correctly by Windows 11. But don’t worry as we have the steps below on how to fix this and resize your desktop. Also, as mentioned above if you have an NVIDIA graphics card you can use NVIDIAs control panel for scaling.
Fix Black Border Around Display In Windows 11:
We have listed the methods below for removing the black border/line around your display in Windows 11.
1. Change the source on your monitor
If your monitor shows the black border in another source, then you know it should not be an issue within Windows 11 (Check the manual for your monitor if you are unsure of how to do this).
2. Ensure Windows 11 is up to date
- Right-click the start menu and select Settings > Now click Windows Update
- Then click on Check for updates button

3. Graphics card driver
Check you have the latest driver installed for your Graphics card.
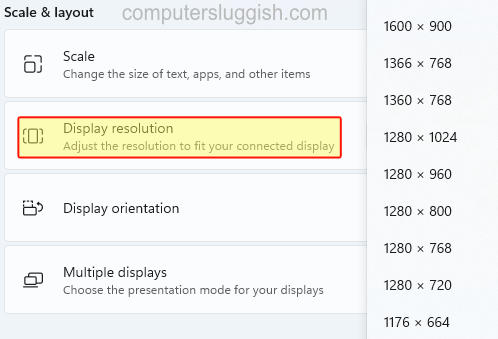
4. Change Display Resolution
If you are not using the correct resolution in Windows 11 then this can cause the black border that you are seeing.
- Right-click on your desktop and select Display Settings
- Now click the drop down next to Display Resolution and work your way down from the top until one suits your display (as you can see in the below screenshot we have a lot of different resolutions to choose from)
5. Change Scaling
Just like the display resolution if you are using an incorrect scale not only can this make the display hard to read it can also cause a black border.
- Right-click on your desktop and select Display Settings > Now Change the Scale

- If changing the scale does not work try use a Custom scale within the same area as above but click Scale to enter into the customised scaling window

6. Reset Monitor back to factory settings
If you are not sure on how this can be done check the manual for your monitor.
7. Display cable
Change the display cable and try different display ports if possible.
8. Easy Gamer Utility
Easy Gamer Utility has a free option to clear the cache files for your graphics card, doing this could help resolve and fix the black border around your screen in Windows 11.
Download Easy Gamer Utility here on our website
Select the Clean Tab then click the Clean button next to your graphics that says clear cache files
Final thoughts
We hope the above methods helped get rid of the black border around your screen on your Windows 11 computer and you are now able to relax and enjoy Windows 11 with the maximum display.
Also if you liked this guide and it helped you out then you should check out our other Windows 11 guides.