This Windows 10 tutorial will show you how to remove or delete a printer on your PC.
When you connect a printer, Windows 10 installs and adds it to your PC. Over time you may have several printers on your PC, so if you want to tidy it up or simply are no longer using a particular printer and want to remove it, then follow the easy steps in the below tutorial.
How to remove a printer:
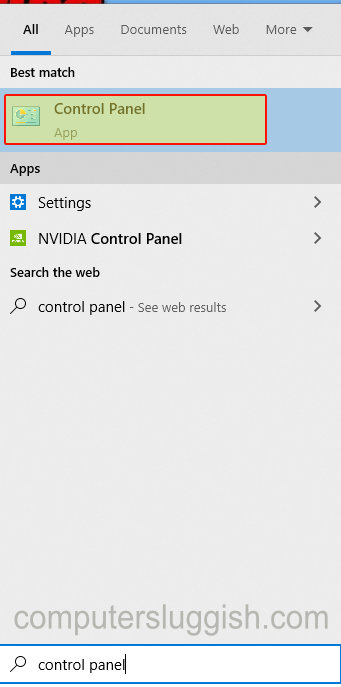
1. Type Control Panel into Windows Search box (In bottom left hand corner) > Open Control Panel
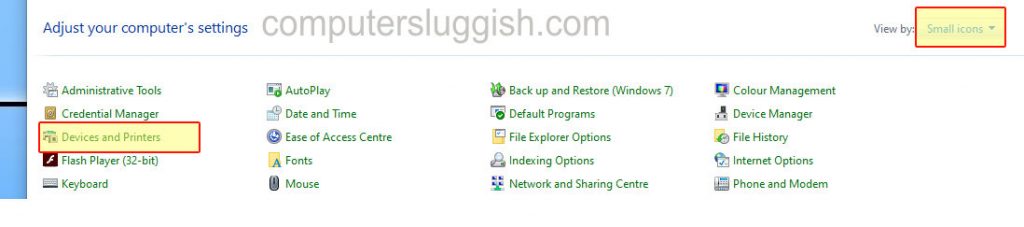
2. Change ‘View by’ to small icons (Drop down menu in top right hand corner of Control Panel) > Click on Devices and Printers
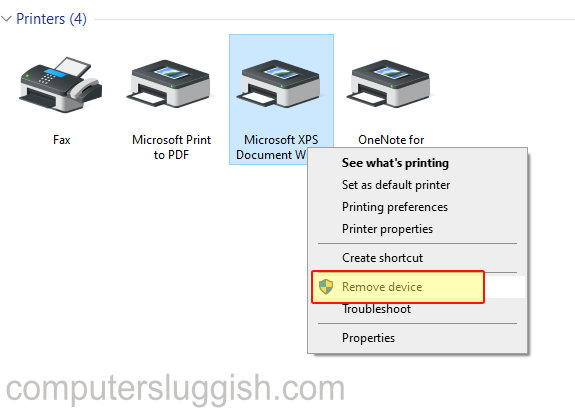
3. Right click on the printer you want to remove > Click on ‘Remove device’ > Press Yes