
In this guide, we will be taking a look at how to fix the Minecraft Launcher error code 0x803F8001 on your Windows PC or laptop. The error message “0x803f8001 Minecraft Launcher is currently not available in your account” will pop up and stop you from being able to use the Minecraft Launcher.
This will then stop you from being able to play Minecraft or install Minecraft Bedrock and Java editions on your Windows computer. Luckily there are a couple of things you can do to fix 0x803F8001, so that you can enjoy the game as soon as possible!
Minecraft has been around for yonks and is always improving and getting better. For example, you can even enable Ray Tracing in Minecraft which looks incredible! And if you have not tried this yet and you have the hardware to do so, then give it a try.
What does the error say?
The reason you are on this guide is you are getting the following error message:
“Check your account, Minecraft Launcher is currently not available in your account. Make sure you are signed in to the Store and try again. Here`s the error code, in case your need it: 0x803F8001“
So below we have put together different methods that will get Minecraft working again on your computer.
What causes the Minecraft error “0x803f8001 Minecraft launcher is currently not available in your account”
There are many things that can stop you from being able to open the Minecraft Launcher from your Windows computer and giving you the frustrating Microsoft error code 0x803f8001.
For example, it could be due to not being signed into the account that you purchased the game on, an issue with the Microsoft Store cache files, or even having the incorrect date and time zone that can cause problems.
Related: Fix Minecraft Launcher not installing
How to fix 0x803f8001 Minecraft Launcher error
Below are the different methods for fixing the Minecraft Launcher not working in Windows 10 or Windows 11. You will need to do each method until one fixes the issue that you are having.
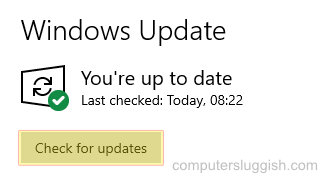
Fix 1: Update Windows
The first thing to do is ensure Windows is fully up to date and this can be done easily within the settings.
Windows 10:
- Right-click on your Windows start menu and open Settings
- Go to Update and security settings and then click on Check for updates
- Open Settings by right-clicking on the start menu
- Select Windows Update from the left and then Check for updates

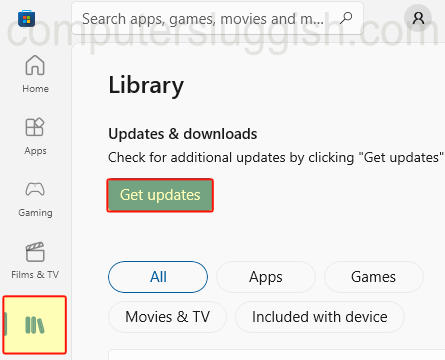
Fix 2: Check store updates
Same as above, we are going to want to ensure we have the latest updates installed for the Microsoft Store and the Xbox app.
- Open your Microsoft Store > Click on Library in the bottom left-hand corner
- This will take you to your Updates & downloads
- Then select Get updates in the top right
- Download any updates that are available for the Xbox app or Windows Store
Fix 2: Date & Time
Ensure you have the correct date, time and zone selected for your Windows operating system. If you do not then this can cause issues not only with the Minecraft Launcher not working but also Windows itself.
- Right-click the clock on your system tray > Go to “Adjust date/time“
- Check that your time and date are correct
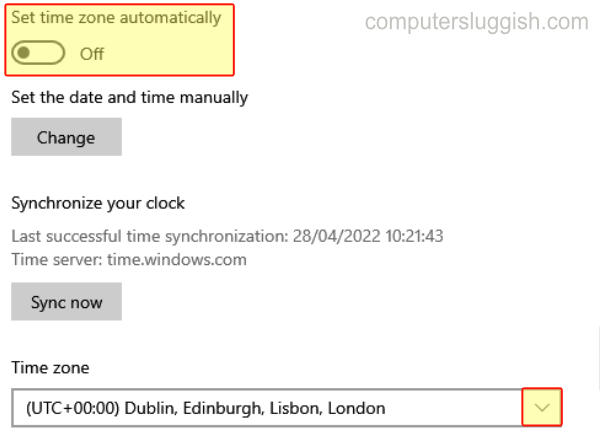
- If they are not then toggle “Set the time automatically” to Off
- Now click the Change button under “Set the time and date manually” and select the correct numbers > Click Change
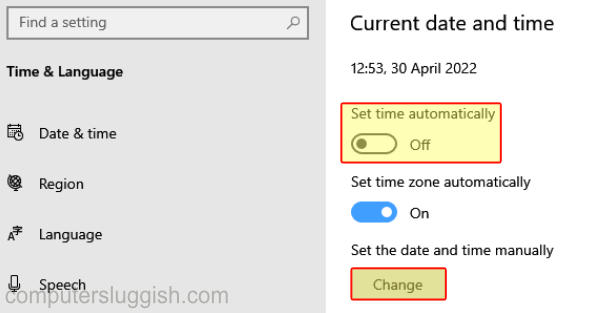
- Then check your Time Zone is correct
- If it is not then toggle “Set the time zone automatically” to Off
- Then select the correct time zone from the drop-down menu
Fix 3: Sign out apps
Sign out of the Microsoft Store and the Xbox App. Once signed out, then sign back into both of the apps again and ensure you are signing in with the account that your purchased Minecraft on.
Fix 4: Reset
Reset both the Microsoft Store and Xbox app within Windows. You will need to sign back into your account after doing this.
Windows 10:
- Right-click the start menu > Apps and Features
- In the search box type Microsoft Store
- Select the Microsoft Store and click on Advanced options
- Select the Reset button
- Do the same for the Xbox app
- Right-click the start menu and select Apps and Features
- In the search box type Microsoft Store
- Now click on the 3 dots > Select Advanced Options
- Click the Reset button
- Do the same for the Xbox app
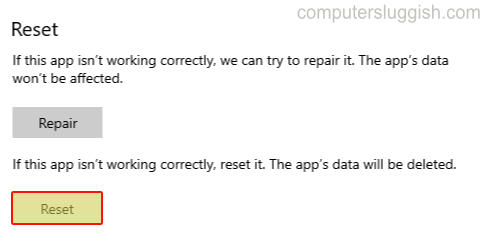
Fix 5: Repair
Repairing the Microsoft Store and Xbox app could fix the issue if there is a problem with one of the apps that causes the error 0x803F8001.
Windows 10:
- Right-click the start menu > Select Apps and Features
- In the search box type Microsoft Store
- Now select the Microsoft Store > Click Advanced options
- Click the Repair button
- Do the same for the Xbox app
Windows 11:
- Right-click the start menu > Apps and Features
- In the search box type Microsoft Store
- Now click on the 3 dots > Select Advanced Options
- Click the Repair button
- Do the same for the Xbox app

Fix 6: Store cache
Clearing the temporary Microsoft Store cache files can help resolve many issues when it comes to games not working, as well as other issues with the store:
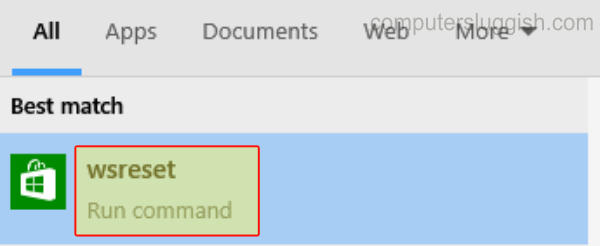
- Open the start menu > Type wsreset
- Now click on wsreset
- Allow it to run > Once finished restart your PC
Fix 7: Reinstall Store
There is not an option within Windows itself to reinstall the Store. However, we can do this using a bit of PowerShell code:
- Open the Windows start menu and search for PowerShell
- Right-click on PowerShell > Select Run as administrator
- Copy the code below and paste it into PowerShell > Press Enter to run the command
Get-AppXPackage *WindowsStore* -AllUsers | Foreach {Add-AppxPackage -DisableDevelopmentMode -Register "$($_.InstallLocation)\AppXManifest.xml"}Fix 8: Reinstall gaming services
There is no option within Windows itself to reinstall the Xbox app. However, the Gaming Services in Windows could be causing you the 0x803f8001 launcher error so we can try and fix the services or simply remove the gaming services and install them again to try and fix the app:
- Open the Windows start menu and search for PowerShell
- Right-click on PowerShell > Select Run as administrator
- Copy the code below and paste it into PowerShell > Press Enter to run the command
- Once removed the Xbox app will ask you to install them again when you launch it next
get-appxpackage Microsoft.GamingServices | remove-AppxPackage -allusers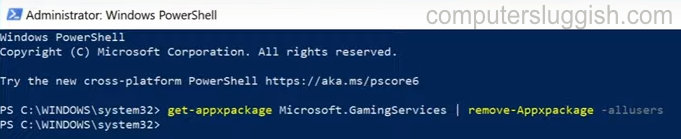
Fix 9: Troubleshooters
Within the Windows Settings, we can run a troubleshoot on the Windows Store Apps. If it finds an issue it will then attempt to repair the problem:
Windows 10:
- Right-click the start menu > Settings
- Click Update & Security
- Now select Troubleshoot in the left menu and then Additional troubleshooters
- Now click Windows Store Apps > Run the troubleshooter
- Follow the steps on-screen
Windows 11:
- Right-click the start menu > Settings
- Now select the System tab > Click on Troubleshoot
- Select Other trouble-shooters
- Then select Run next to “Windows Store Apps”
- Follow the troubleshooter steps on-screen

Fix 10: User profile
Try switching your user profile on your PC. Then try signing into the Microsoft Store and Xbox app on the different user. Then try booting up the Minecraft Launcher and see if you get the error code again.
We hope the above guide helped fix the error Minecraft Launcher 0x803F8001 error you get when trying to open it on your Windows computer. And it no longer says that it’s not available for your account, allowing you to get back to playing Minecraft Bedrock or the Java editions.
If you did find this guide helpful then we are sure you would like all of our other Windows guides.